
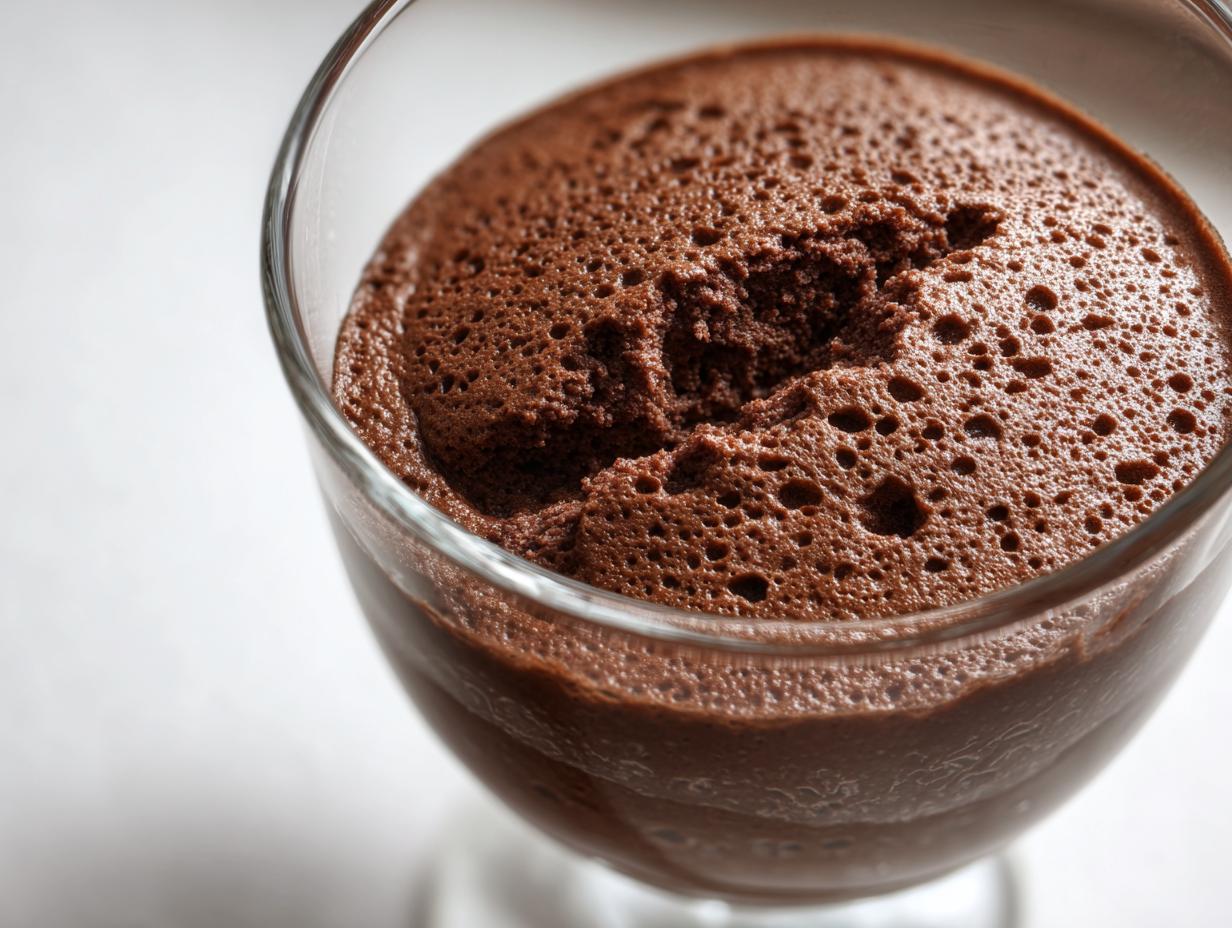
Oh, I know the feeling! You’re hosting a last-minute dinner party, or maybe you just had a rough Tuesday and need something truly decadent to cap off the night, but you absolutely do not have the energy (or desire) to deal with tempering eggs or fussy techniques. That’s where this recipe steps in. You are going to make the most incredible, velvety chocolate mousse you’ve ever tasted using only three ingredients. It’s our Secretly Easy 3-Ingredient Silky Chocolate Mousse (No Eggs Required). Here at HearthBite, my philosophy, the one Sarah Miller built this kitchen on, is that comfort food should never look fussy. This rich chocolate dessert delivers pure elegance with minimal effort. Trust me, your guests will think you spent hours on this!
- Why This 3 Ingredient Mousse is Your New Favorite Chocolate Mousse
- Gathering Ingredients for Your Silky Chocolate Mousse
- How to Prepare Your Easy Chocolate Mousse Recipe Step-by-Step
- Serving Your Individual Chocolate Mousse Cups Elegantly
- Tips for Success with Your No Bake Chocolate Mousse
- Make Ahead Dessert and Storage for Chocolate Mousse
- Variations on the Classic Chocolate Mousse
- Frequently Asked Questions About Chocolate Mousse Without Eggs
- Share Your Decadent Chocolate Treats
Why This 3 Ingredient Mousse is Your New Favorite Chocolate Mousse
Honestly, this is the easiest chocolate mousse recipe I have ever perfected, and that’s saying something! Forget complex double boilers or trying to incorporate raw eggs—we skip all that drama. This is pure, simple indulgence. It really hits that sweet spot between being an incredibly quick dessert and delivering top-tier results. If you’re looking for a reliable, no-fuss dessert that punches way above its weight, stop scrolling. You’ve found it.
Here’s why this simple approach creates such a showstopper:
- It’s a true 3 ingredient mousse situation. I mean, how good is that?
- It requires zero baking, making it the ultimate no bake chocolate mousse solution.
- The resulting texture is what truly sets it apart; it’s an unbelievably silky chocolate mousse.
Achieving That Velvety Chocolate Dessert Texture
The magic is in the meeting of the melted, high-quality chocolate and the stiffly whipped cream. When you fold them together just right, the cream incorporates air while the melted chocolate provides the structure and richness. It stabilizes beautifully without needing eggs or gelatin. It becomes that dreamy, velvety chocolate dessert texture that melts perfectly on your tongue.
Making this Quick Dessert for Dinner Party Desserts
You can seriously prep this in about fifteen minutes flat, which is a lifesaver when you’re scrambling before guests arrive! That upfront time investment is minimal, but the payoff is huge. Since it tastes even better the next day, it’s the perfect make ahead dessert. You pull them out of the fridge, add a little dusting of cocoa, and suddenly you’re serving fancy dinner party desserts.
Gathering Ingredients for Your Silky Chocolate Mousse
This is the fun part because we’re keeping the shopping list super short! Remember, this is a 3 ingredient mousse recipe at its core. You really only need excellent dark chocolate and heavy whipping cream. The sugar, well, that’s totally up to your sweet tooth, so feel free to leave it out if your chocolate is rich enough!
Here’s what you’ll need to grab:
- 200g dark chocolate (make sure it’s 70% cacao or higher—this makes a huge difference!)
- 1 cup heavy whipping cream (Must be ice cold, seriously!)
- 2 tablespoons granulated sugar (Only use this if you like it sweeter.)
Ingredient Notes and Substitutions for Chocolate Mousse
I always tell people that the quality of your chocolate is what makes or breaks this recipe. If you use standard milk chocolate, you’ll end up with something that tastes more like a sweet, thick pudding, not that luxurious, creamy chocolate dessert we are aiming for. The higher cacao content (70% minimum) gives you that depth and bitterness that keeps the final product from being cloyingly sweet.
Also, please, please use heavy whipping cream. You need that high milk fat content to whip up into stiff, stable peaks that hold all that wonderful air. Lower fat creams just won’t stabilize properly, and you’ll end up with soup instead of mousse!
How to Prepare Your Easy Chocolate Mousse Recipe Step-by-Step
Okay, this is where the real magic happens, and I promise you, it’s so straightforward! We are creating two separate components here and then bringing them together at the end. Think of the first part as the rich, decadent heart, and the second part as the fluffy cloud that lifts it all up.
Melting the Chocolate Base for Rich Chocolate Treats
First things first, your chocolate needs to be chopped up finely. The smaller and more uniform the pieces are, the quicker and smoother they’ll melt, which is essential for a truly creamy chocolate dessert experience. Next, take half of your cold heavy cream (that’s 1/2 cup) and warm it in a tiny saucepan. You only want it to just start simmering around the edges—don’t boil it, or you’ll scorch your beautiful chocolate!
Pour that hot cream right over the chopped chocolate pieces in your bowl. Now, here is a key moment of patience: do nothing for five full minutes. Let the heat do the work. After the waiting period, whisk it gently until it’s glossy and smooth. If you’re using that optional sugar, stir it in now. After that, you absolutely must let this chocolate base cool down to room temperature. If it’s warm when you add the whipped cream, it will deflate everything, and we’ll lose that wonderful airy lift!
Whipping and Folding for the Perfect Chocolate Mousse
While that base is chilling out, take your remaining 1/2 cup of super cold cream and whip it up until you get firm, but still soft, peaks. You want reliable structure here! Now, take about a third of that beautiful whipped cream and gently fold it into your cooled chocolate base. This initial fold just lightens up the heavy chocolate mixture so it plays nicely with the rest of the air.
Then, add the remaining whipped cream. This is the part that requires a gentle hand! Use your spatula to cut straight down through the middle of the mixture, sweep along the bottom of the bowl, and flip it over the top. Rotate the bowl and repeat. You only want to fold until you see no more white streaks; overmixing means deflating all those air bubbles we worked so hard to create for that silky chocolate mousse.
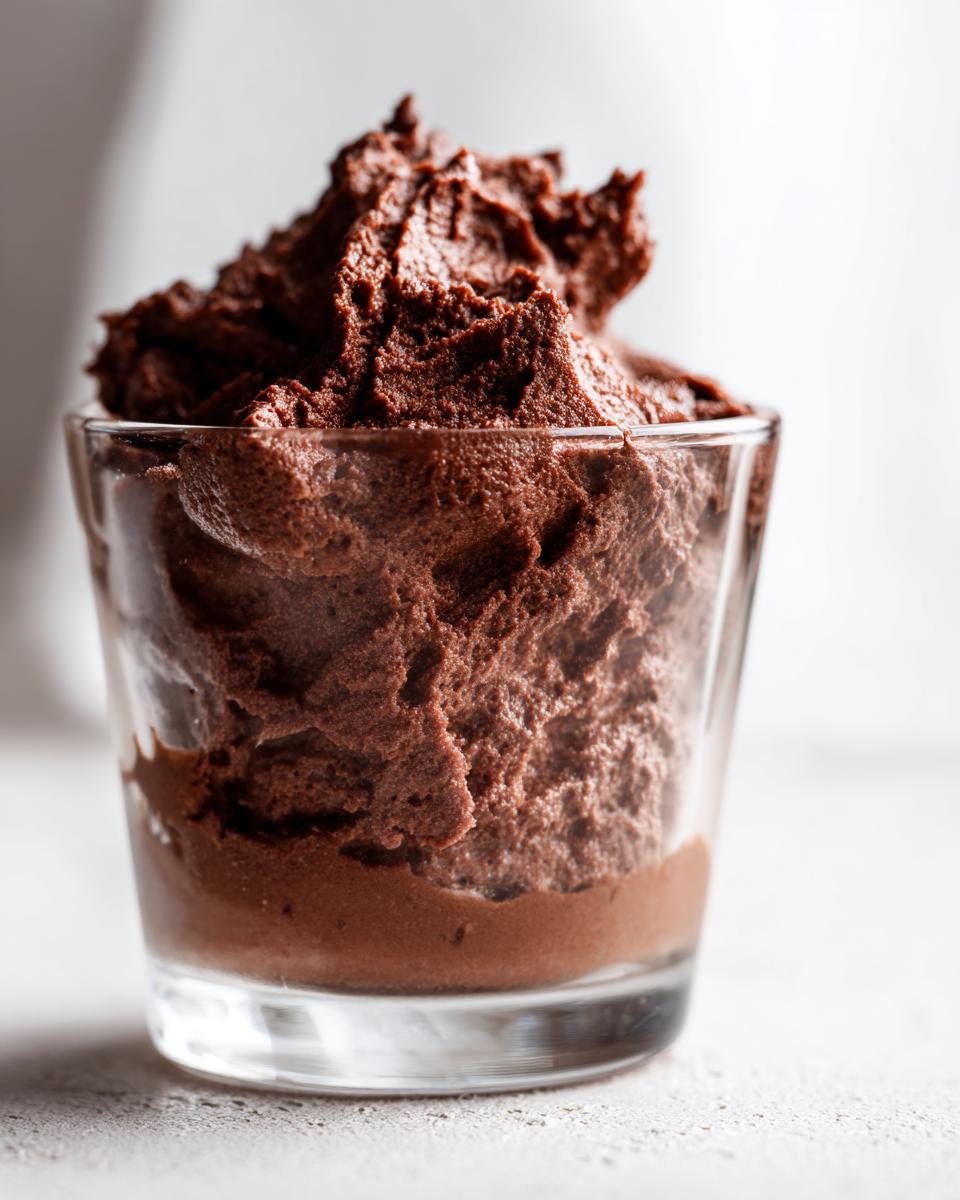
Serving Your Individual Chocolate Mousse Cups Elegantly
Now that you’ve nailed that perfect, light-as-air fold, it’s time to think about presentation! Since this recipe makes a lovely amount, serving it in individual chocolate mousse cups is definitely the way to go. People feel fancy when they get their own little dessert serving, and it saves you from having to slice anything later—another win for easy entertaining!
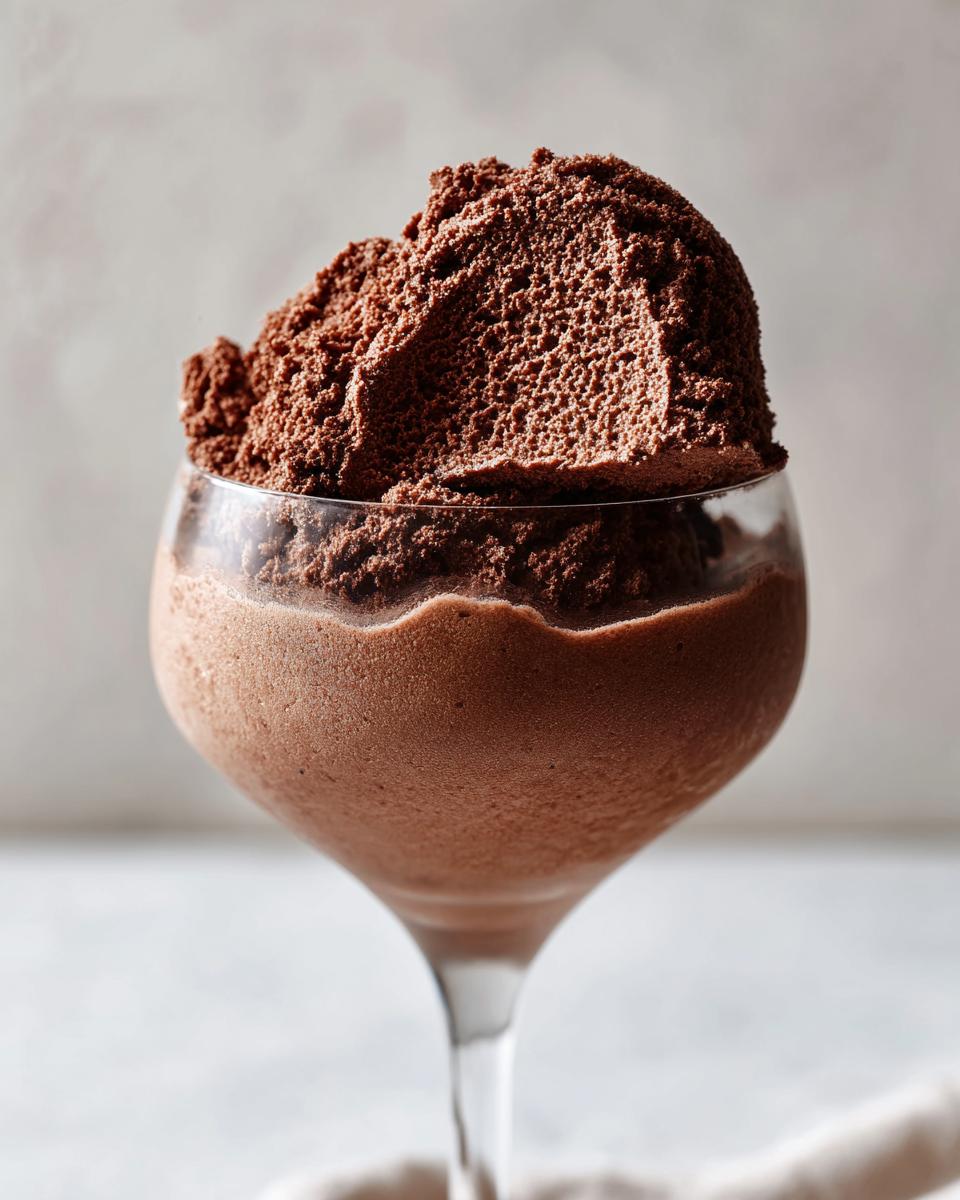
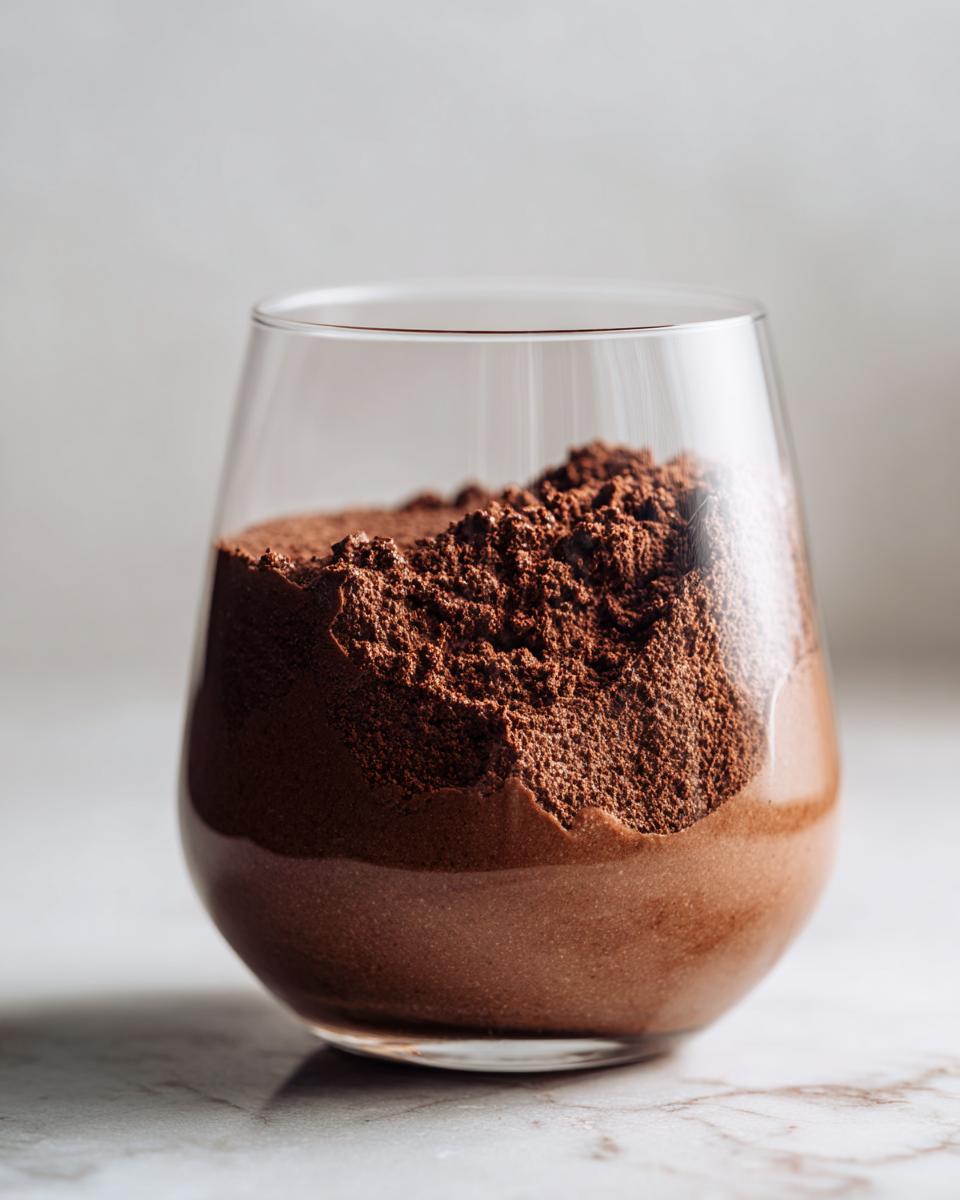
You can use small ramekins, pretty glasses, tiny mason jars, or even clear espresso cups if you’re going for a tiny bite. Fill them up about three-quarters of the way, since you want room for a little flourish on top. Remember, the chilling time is critical here—at least two hours, but honestly, I like to leave mine for four or even overnight. This allows the mousse to firm up properly so it holds its shape when you present it.
When it’s time to serve your elegant dessert ideas, keep it simple but chic. A light dusting of unsweetened cocoa powder right before serving looks stunning and adds a lovely bitter contrast. If you want a bit more texture, a few small, dark chocolate shavings on top look professional. For real indulgence, sometimes I’ll even float a single, perfect raspberry right in the center. It really elevates this simple three-ingredient dessert!
Tips for Success with Your No Bake Chocolate Mousse
You know, when you’re aiming for that rich, perfect chocolate pudding alternative, sometimes the small details make all the difference. The recipe itself is designed to be foolproof because it’s a no bake chocolate mousse, but there are a few little secrets I stick to, just like my mother taught me.
We listed some basic instructions, but here are the extra nuggets of wisdom that ensure you get that lovely, light, and airy mousse every single time:
- For the absolute richest flavor, always use chocolate with 75% cacao content or higher. I find anything lower starts tasting too sweet than decadent.
- If you’re short on equipment, you can totally use a sturdy hand whisk for the final folding step instead of an electric mixer. It just takes a bit more elbow grease, but it works!
- This recipe is fantastic for dinner parties because it’s truly a make ahead dessert. Plan on making it the day before if you can.
Now, I have to tell you about the time I ignored the cooling step. I was trying to get these ready for a friend’s baby shower and decided I could speed things up by folding the whipped cream into chocolate that was only lukewarm instead of fully room temperature. Big mistake! As soon as that cool cream hit the warm chocolate base, it basically melted immediately. Instead of a fluffy, light and airy mousse, I ended up with a runny, heavy sauce. I had to chill those cups for hours longer than planned, and they never quite achieved that gorgeous, velvety structure. So, seriously, let that base cool completely. Patience here pays off tenfold!
Make Ahead Dessert and Storage for Chocolate Mousse
One of the best things about this whole recipe, besides the taste, is that it’s practically designed for busy people like us! Since this is a make ahead dessert, you can take the pressure off yourself on the day you plan to serve. This is a total lifesaver before a big gathering or even when you just want an easy dessert ready for a weekend treat.
You really need that minimum of two hours chilling time for the mousse to set up properly and reach that unbelievably dense, yet airy, texture. But if you have the time, I always say, take it! This mousse keeps beautifully in the refrigerator, and to be honest, I think the flavors actually deepen a bit overnight, making it an even richer experience the next day.
When you’re storing your chocolate mousse—especially if you’ve portioned them into those cute individual chocolate mousse cups—the most important thing is covering them. You want to seal in that moisture but prevent that slightly dry skin from forming on top. I just use plastic wrap, but here’s my trick: press a small piece of plastic wrap directly onto the surface of the mousse in each cup before sealing the entire container or tray. This contact layer prevents air exposure right where it matters most. They stay perfectly fresh and decadent in the fridge for up to two full days!
Variations on the Classic Chocolate Mousse
While this three-ingredient recipe is amazing exactly as written—it’s what I turn to when I need something quick—sometimes you want to riff a little bit, right? I love taking this base and making minor adjustments that really change the final experience. Think about those gorgeous layered desserts you see everywhere; you can mimic that complexity with zero added fuss!
Here are a couple of ways I love to switch things up when I have an extra five minutes:
Adding Depth with Flavor Boosters
For a richer, adult version of this silky chocolate mousse, the easiest addition is coffee! Before you pour the hot cream over your chopped chocolate, dissolve about one teaspoon of very good instant espresso powder right into that warm cream. The coffee doesn’t make it taste like a latte; it just intensifies the natural bittersweet notes in the dark chocolate. It’s a subtle shift, but it makes the whole thing feel incredibly sophisticated—perfect for an elegant dessert if you’re serving it after a nice steak dinner.
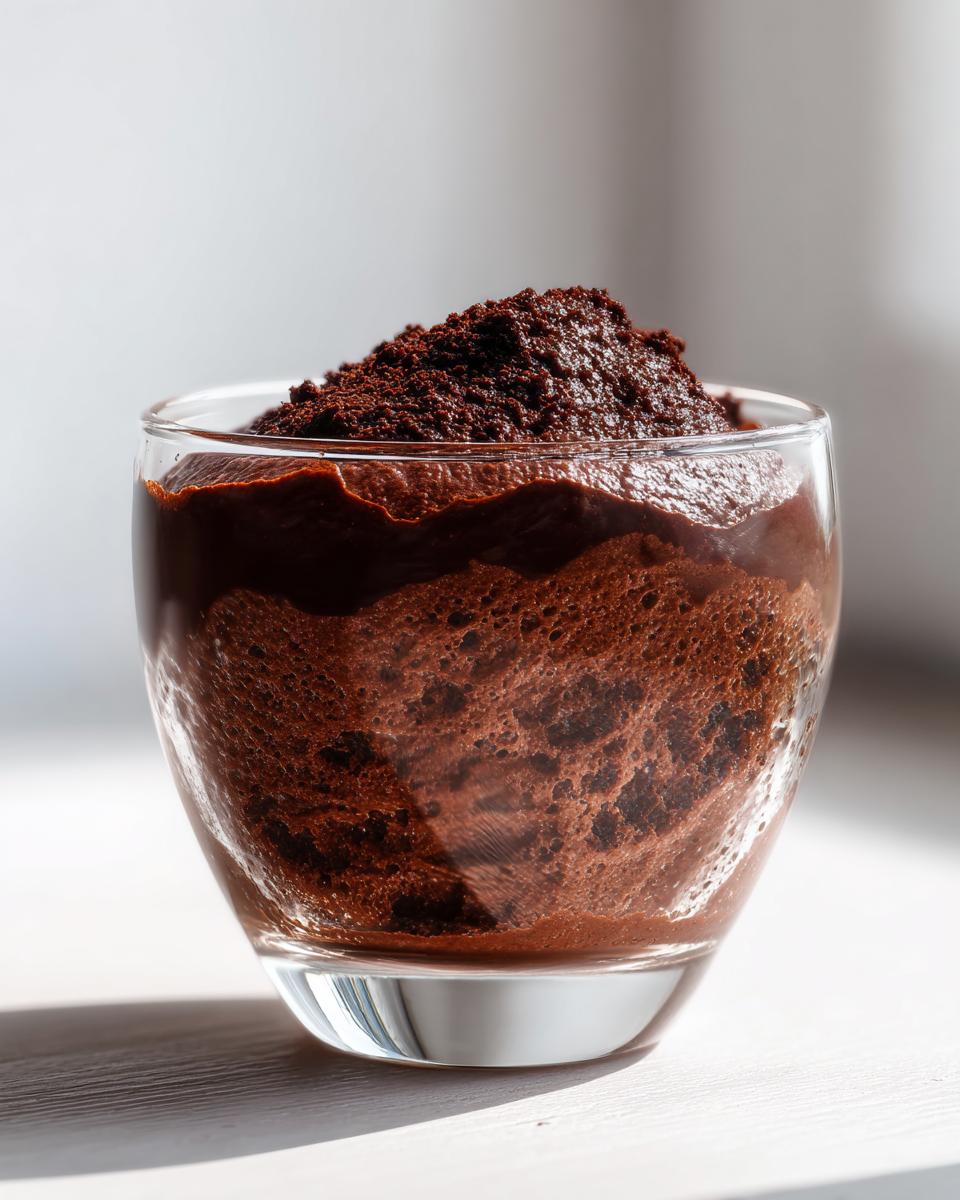
Layering for That Chocolate Mousse Brownies Effect
If you saw some of those incredible layered brownies out there, you might be wondering how to get that textural contrast without baking brownies first. Well, we can cheat! First, spoon just a small layer of what I call a “quick base” into the bottom of your cup. This could be some crushed Oreos mixed with a tiny bit of melted butter, or even a spoonful of store-bought chocolate ganache if you have some lying around.
Let that base chill for about 15 minutes while you prepare your mousse. Then, gently spoon your prepared, light-as-air mousse on top. You get that satisfying contrast—a slightly dense bottom layer and the airy top layer—mimicking the filling in those decadent chocolate mousse brownies, but it’s totally no bake chocolate mousse!
Frequently Asked Questions About Chocolate Mousse Without Eggs
It’s natural to have a few lingering questions when you’re making something that seems almost too easy! Don’t worry, I get asked these all the time. This recipe is designed to be straightforward yet deliver that incredible mouthfeel that you usually only get from fancy restaurant desserts. We’re aiming for that perfect French chocolate mousse result without the traditional hassle.
Can I make this chocolate mousse without eggs?
That’s the best part! Yes, absolutely, you can make this chocolate mousse without eggs! In fact, this recipe is intentionally egg-free. We are using heavy whipping cream that is whipped to stiff peaks to replace the structure and air that egg whites usually provide. It results in a wonderfully rich and creamy chocolate dessert that is much less fussy to prepare, and you don’t have to stress about using fresh eggs.
How long does the whipped cream need to chill before folding into the chocolate mousse?
This is one of those steps you can’t rush, so pay attention! You need to let that melted chocolate base cool down completely to room temperature after you make it. If you try to fold your whipped cream into warm chocolate, you are going to melt all the air right out of those beautiful peaks. So, chill the chocolate base for at least 30 minutes, or until it’s really just slightly cool to the touch. As for the heavy cream you are whipping? That needs to be ice cold right out of the fridge. Cold cream whips up high and fast, which is exactly what we want for that light and airy mousse finish.
What’s the key to avoiding a grainy texture in this chocolate mousse?
Graininess usually happens when the chocolate doesn’t melt smoothly, or if you try to whip the mixture when it’s too hot or too cold. The trick is in the beginning: make sure those chocolate pieces are chopped small and uniform! When you pour the heated cream over them, let them sit for a full five minutes undisturbed. If you’re whisking too soon, you might not dissolve all those tiny chocolate bits evenly. Once you whisk, you need to get that mixture perfectly smooth before you cool it down. If the base is smooth going into that folding stage, your final silky chocolate mousse will be perfectly smooth, too!
Can I use different types of chocolate besides dark?
You sure can experiment, but I highly recommend sticking to dark chocolate (70% cacao or higher) for the best results in this specific recipe. Why? Because the heavy cream we whip in has a lot of fat and sweetness already, and the sugar is optional! If you use semi-sweet or milk chocolate, the whole thing can turn into a very sweet, heavy dessert that loses that signature bittersweet intensity we love in a classic French chocolate mousse. If you must use milk chocolate, definitely skip the extra sugar entirely!
Share Your Decadent Chocolate Treats
That’s it! Now you have the secret to making a show-stopping, velvety chocolate mousse that looks like it took hours, but really only took about 15 minutes of active work. Doesn’t that feel empowering? Creating something elegant doesn’t have to mean complication; it just means choosing the right ingredients and technique!
I truly hope this easy chocolate mousse recipe becomes a staple in your home, just like it is here at HearthBite. I love hearing how these simple recipes bring joy and connection to your tables. So, please, don’t be shy!
If you make this decadent chocolate treat, I would be so thrilled if you came back here and left a rating below. Let me know in the comments how it turned out for you—did you add a little espresso powder? Did you make individual chocolate mousse cups? Did your family devour it?
Snap a picture of your gorgeous, light and airy mousse and share it on Instagram or Facebook! Tag us so I can see your hard work, and know that you’re part of the HearthBite family, making delicious memories one simple bite at a time.
PrintSecretly Easy 3-Ingredient Silky Chocolate Mousse (No Eggs Required)
Make this decadent, velvety chocolate mousse with only three simple ingredients. It comes together quickly, requires no baking, and delivers an elegant dessert perfect for dinner parties or a quick weeknight treat.
- Prep Time: 15 min
- Cook Time: 0 min
- Total Time: 2 hours 15 min
- Yield: 4 servings 1x
- Category: Dessert
- Method: No Bake
- Cuisine: French
- Diet: Vegetarian
Ingredients
- 200g dark chocolate (70% cacao or higher)
- 1 cup heavy whipping cream, cold
- 2 tablespoons granulated sugar (optional, adjust to taste)
Instructions
- Chop the dark chocolate into small, uniform pieces. Place the chocolate in a heatproof bowl.
- Heat half of the heavy whipping cream (1/2 cup) in a small saucepan over medium heat until it just begins to simmer around the edges. Do not let it boil.
- Pour the hot cream over the chopped chocolate. Let it sit undisturbed for 5 minutes to allow the chocolate to melt fully.
- Whisk the chocolate and cream mixture gently until it becomes smooth and glossy. Stir in the optional sugar, if using. Set the bowl aside and let the mixture cool completely to room temperature, about 30 minutes.
- Pour the remaining 1/2 cup of cold heavy whipping cream into a separate, chilled mixing bowl. Beat with an electric mixer on medium-high speed until soft peaks form.
- Gently fold about one-third of the whipped cream into the cooled chocolate mixture to lighten it.
- Carefully fold in the remaining whipped cream until just combined. Avoid overmixing to keep the mousse light and airy.
- Spoon the mousse into individual serving cups or ramekins.
- Chill the chocolate mousse in the refrigerator for at least 2 hours, or until firm. Serve cold for a truly silky texture.
Notes
- For a richer flavor, use chocolate with 75% cacao content or higher.
- If you prefer a lighter texture, you can use a hand whisk instead of an electric mixer for the final folding step.
- This mousse is excellent made ahead of time; it keeps well in the refrigerator for up to two days.
Nutrition
- Serving Size: 1 cup
- Calories: 350
- Sugar: 25
- Sodium: 35
- Fat: 28
- Saturated Fat: 17
- Unsaturated Fat: 11
- Trans Fat: 0
- Carbohydrates: 22
- Fiber: 3
- Protein: 5
- Cholesterol: 95