

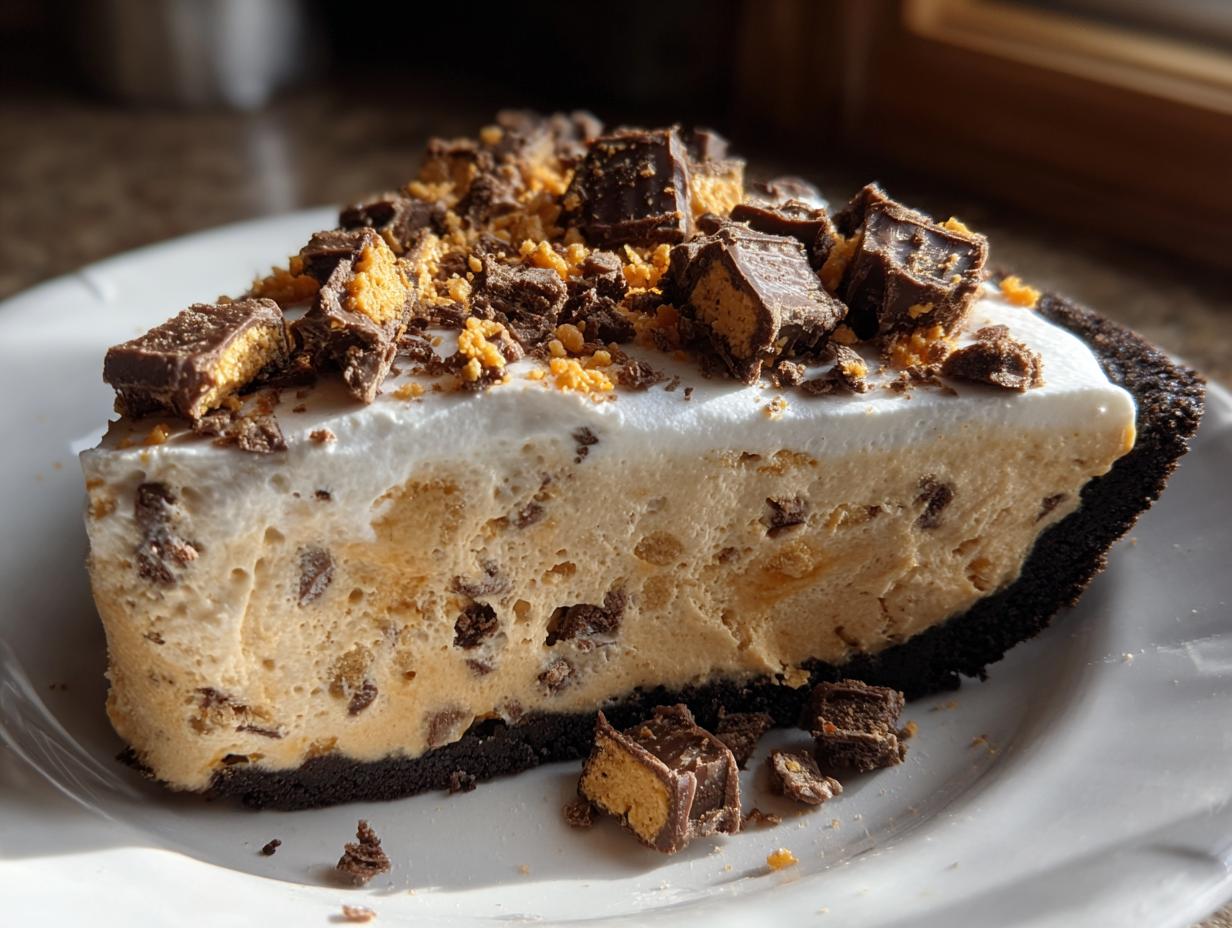
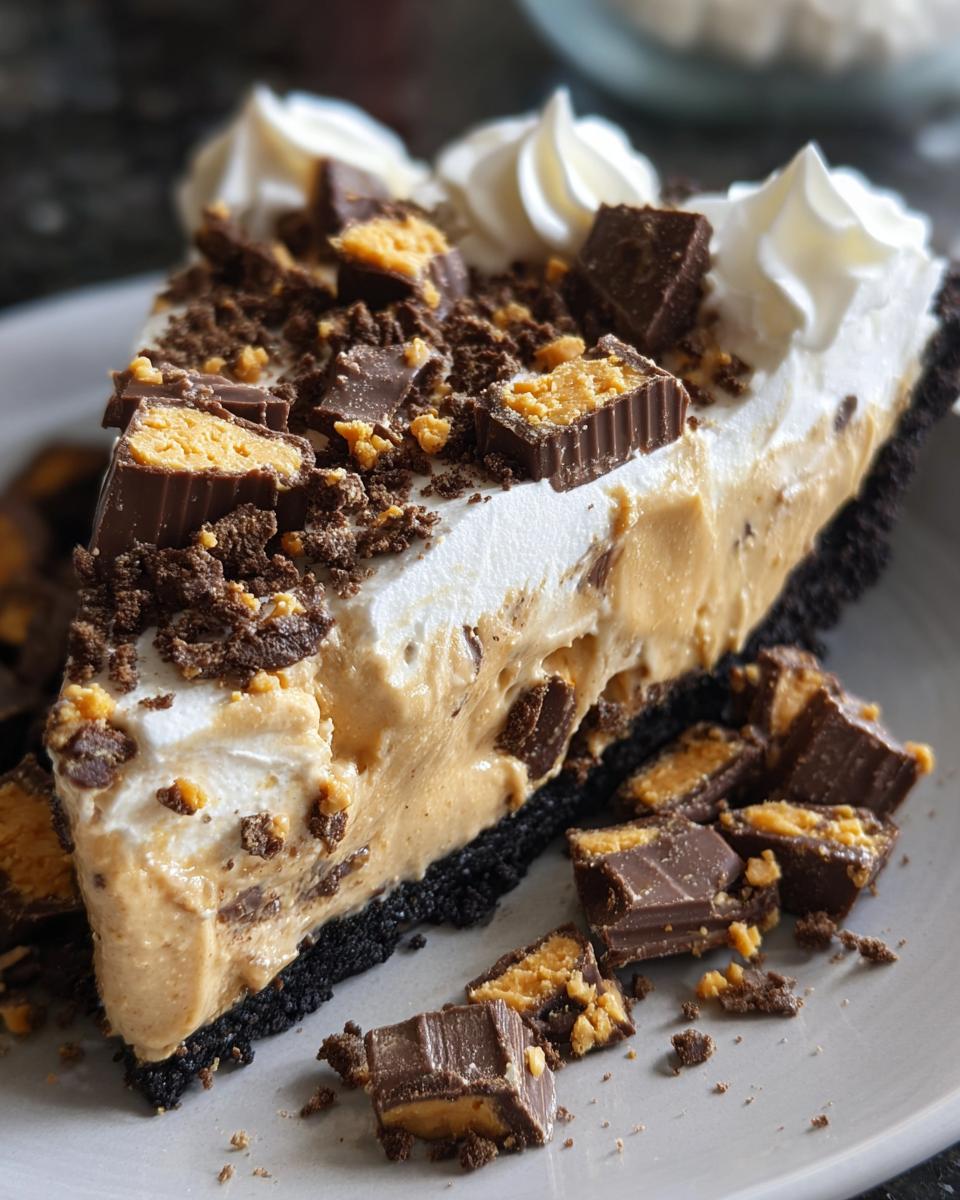
Sometimes, you just need a dessert that screams delicious indulgence without demanding you turn on the oven or spend hours mixing. That’s exactly what happens when you make this absolute dream of an Butterfinger Pie. Trust me when I say this is the easiest, creamiest, crunchiest treat you will ever assemble—it truly is ready in about 20 minutes of hands-on time!
Here at HearthBite, we believe cooking should be an act of joy, not a chore, which is why we test every recipe until it’s absolutely reliable. This pie is no exception; we’ve perfected this no bake butterfinger pie countless times to ensure that chocolate cookie crust, tangy peanut butter filling, and crunchy candy topping set up perfectly every single time. It’s simple, it’s spectacular, and it’s about to become your go-to for any gathering, just like the comforting recipes that inspired our entire mission. You can read more about that journey on our About page.
- Why This Easy Butterfinger Pie is Your New Favorite Dessert
- Gathering Ingredients for the Best Butterfinger Pie
- Step-by-Step Instructions for Your Easy Butterfinger Pie
- Expert Tips for the Perfect Butterfinger Pie Success
- Serving Suggestions for This Potluck Desserts Star
- Storage and Reheating Instructions for Your Butterfinger Dessert
- Frequently Asked Questions About No Bake Butterfinger Pie
- Understanding the Nutrition in Your Indulgent Dessert
- Share Your Experience Making This Butterfinger Pie
Why This Easy Butterfinger Pie is Your New Favorite Dessert
If you’re looking for a showstopper that doesn’t break a sweat, this is it! This no bake butterfinger pie checks every box you could possibly have for an easy, impressive treat.
- Quick Prep Time for Your Butterfinger Pie: Seriously, you can have this mixed up and into the pan in under 20 minutes, making it the ultimate quick candy bar pie for those last-minute needs.
- The Dreamy Texture of This Butterfinger Pie Recipe: We aren’t messing around with flimsy fillings here. You get that luscious, creamy peanut butter pie layer balanced against the perfect salty crunch of the candy bars. It’s a total dreamy dessert experience!
Gathering Ingredients for the Best Butterfinger Pie
You won’t need much for this recipe, which is part of why it’s so fantastic for quick weeknight fixes or last-minute potlucks! The beauty of this butterfinger pie relies on having your dairy items cold or softened, depending on what you’re mixing. Don’t skip the step of making sure your cream cheese is truly soft; that’s the secret to getting that velvety smooth texture we are aiming for.
Ingredients for Your No Bake Butterfinger Pie Filling
For the heart of this beautiful, no-bake creation, gather these items. Remember, this is where the creamy peanut butter pie magic happens!
- 1 cup cold milk (make sure it’s cold!)
- 1 (8 ounce) package cream cheese, softened so it blends easily
- 1 cup powdered sugar
- 1 teaspoon vanilla extract
- 1/2 cup creamy peanut butter (go ahead and use the regular stuff, it holds up best here)
Crust and Topping Components for Your Butterfinger Pie
For the crunch and structure, we need just a few more things. The candy bar prep is important here—you’ll need to divide them up before you start mixing!
- 1 (9 inch) pre-made chocolate cookie crust. If you skip the store-bought, use homemade Oreos!
- 1 (12 ounce) container frozen whipped topping, thawed completely
- 1 1/2 cups crushed Butterfinger candy bars (keep about 1/2 cup separate for sprinkling on top later!)
Step-by-Step Instructions for Your Easy Butterfinger Pie
Okay, this is the fun part! Even though there’s no baking involved, the technique here makes the difference between a soup-like filling and that perfect, sliceable creamy peanut butter pie texture. Don’t rush the folding steps; that’s how we keep the filling light and airy.
Preparing the Candy and Mixing the Creamy Peanut Butter Pie Filling
First things first, get your candy ready. You need to crush those delicious Butterfingers—go ahead and set aside about a half cup of those crunchy bits right now for the very top!
Now grab your biggest bowl. You’re going to beat the cold milk, softened cream cheese, powdered sugar, vanilla, and that creamy peanut butter together. You need to beat this mixture until it is completely smooth and creamy. I mean it, no lumps of cream cheese allowed! This takes patience, but it pays off.
Assembling the Butterfinger Pie Layers
Once the base is perfect, it’s time to lighten things up. Gently fold in most of your thawed whipped topping. Don’t use the electric mixer for this part; use a rubber spatula and cut down the middle, folding over. This keeps the air in!
Next, fold in the majority of the crushed Butterfinger pieces you didn’t save for garnish. Next, pour that luscious filling right into your pre-made chocolate cookie crust. Spread it out evenly. Now, take that reserved whipped topping and smooth it right over the top layer. We’re almost done!
Chilling Your No Bake Butterfinger Pie
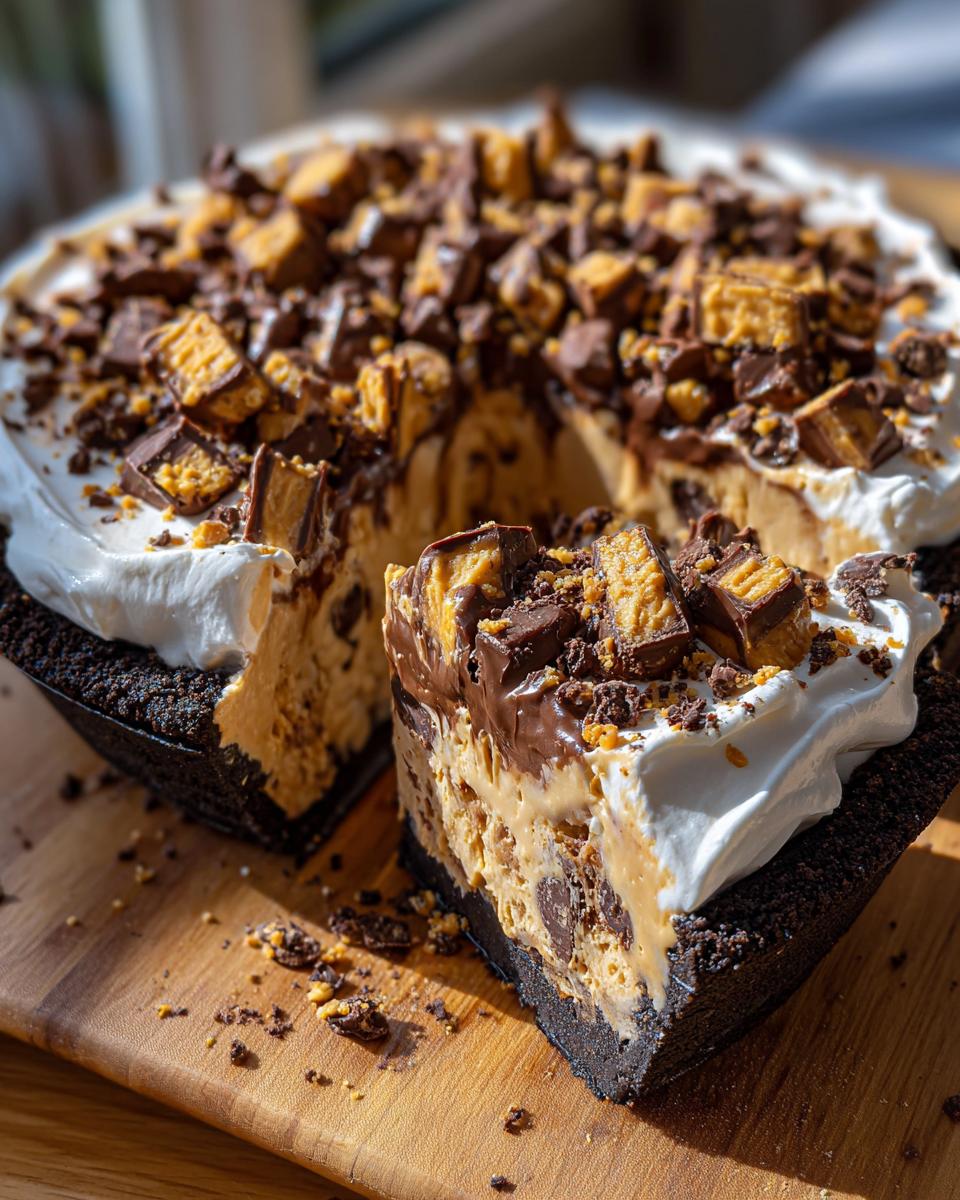
This step is absolutely non-negotiable, folks! Sprinkle those reserved, crunchy Butterfinger pieces right over the fresh whipped topping. They stick beautifully to the cool cream.
Now, cover this beauty lightly and pop it into the refrigerator. It has to chill for a minimum of four hours. If you try to slice it any sooner, it’s just going to melt all over your plate! Four hours lets this no bake butterfinger pie set up perfectly into that sliceable, dreamy dessert you deserve.
Expert Tips for the Perfect Butterfinger Pie Success
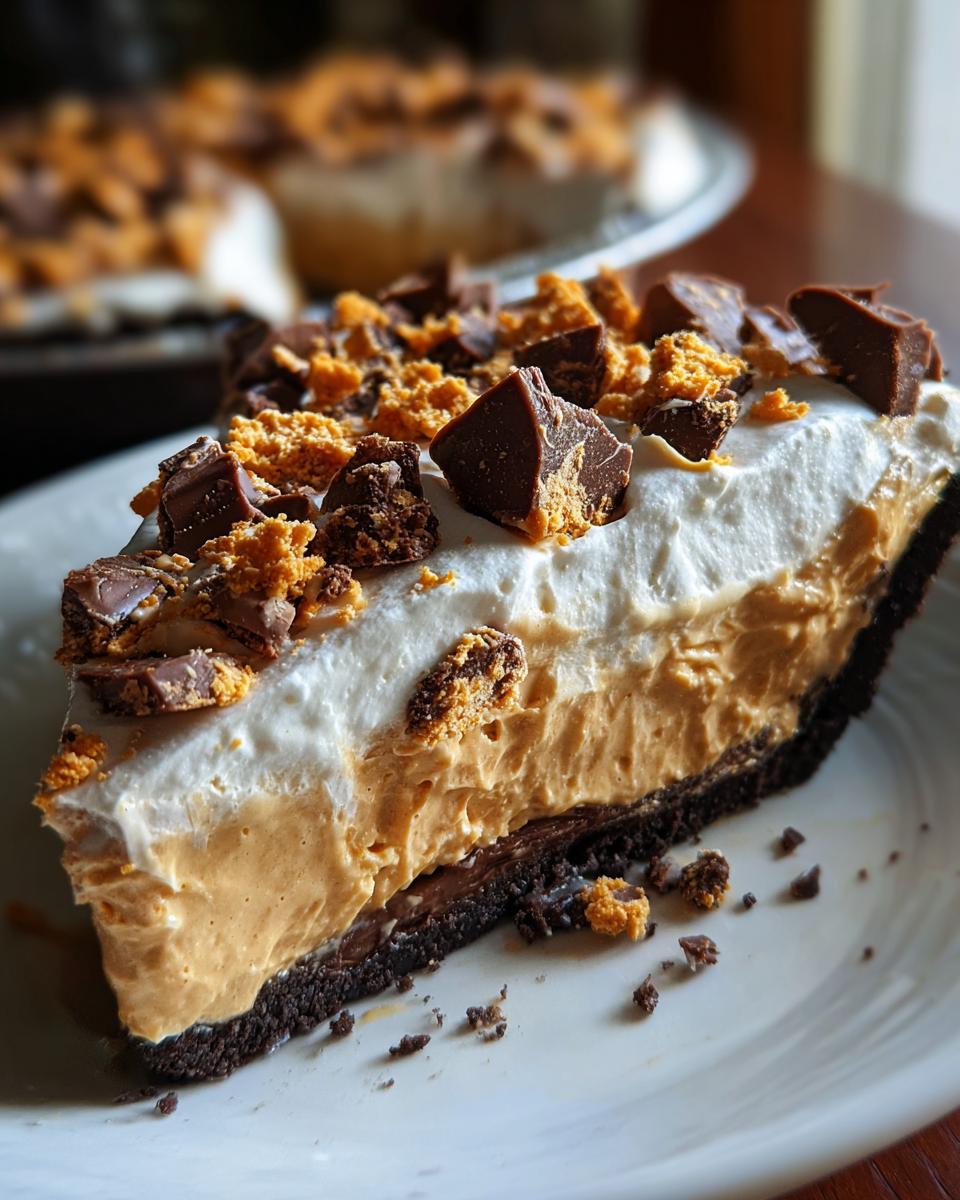
Because this is a no-bake icebox pie, the setup quality really matters! You want it firm enough to hold its shape when you slice it, but still feel light and creamy inside. Getting that texture just right relies on paying attention to the ingredients before you even turn on the mixer.
Ingredient Notes and Substitutions for Your Butterfinger Pie
First off, that cream cheese *must* be softened—and I mean soft enough that your finger leaves an imprint without a struggle. If it’s cold, you’ll end up with little pockets of hard cheese in your creamy peanut butter pie, and nobody wants that surprise!
You can absolutely make this ahead. In fact, it’s better on day two! If you’re feeling adventurous and want to skip the pre-made chocolate crust, go for chocolate graham crackers mixed with melted butter. It gives it a slightly different, but still delicious, foundation.
If you want to see how others structure their no-bake sweets, you can check out great approaches like the one they have over at Plain Chicken. It’s always inspiring to see different paths to the same, delicious result!
Serving Suggestions for This Potluck Desserts Star
This pie is made to travel! Since it’s a sturdy, chilled beauty, it’s perfect for passing around at your next big event or family gathering dessert buffet. Don’t stop just at the reserved Butterfinger crunch, though!
For an extra touch of elegance that takes zero effort, sprinkle on a tiny dust of cocoa powder right before you take it out of the fridge. A few thin drizzles of chocolate syrup on top of the whipped cream layer also look amazing. If you want to lean into the peanut butter flavor, a few whole peanut butter cups, chopped roughly, make it look incredibly decadent. Trust me, people will think you slaved over this quick candy bar pie!
Storage and Reheating Instructions for Your Butterfinger Dessert
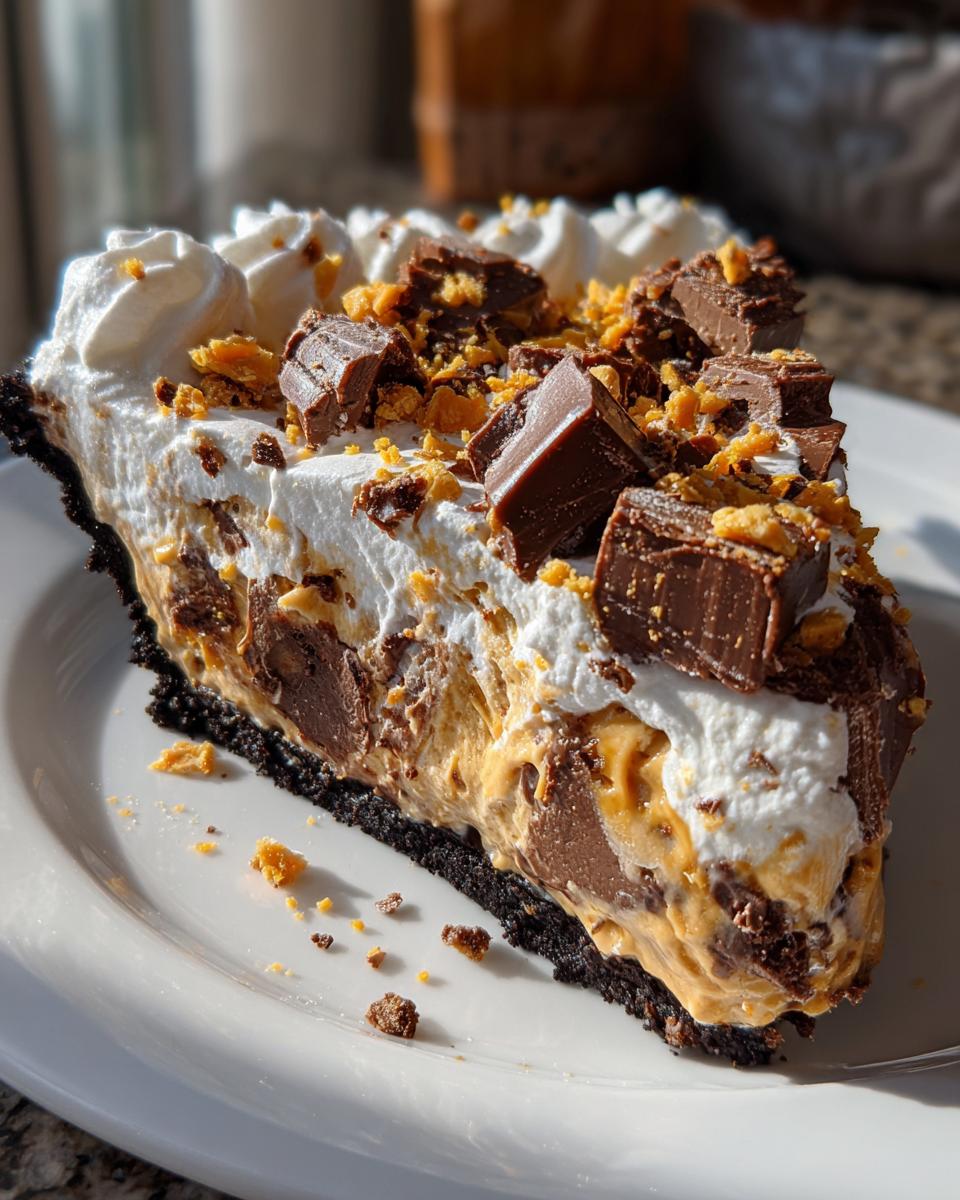
Since this is such a wonderful no bake butterfinger pie, storage is super easy, but you have to keep it cold! You absolutely cannot *reheat* this pie—that would melt our lovely creamy filling right into a puddle. Keep any leftovers covered tightly in the fridge. It stays fantastic for about three days. After that, the chocolate crust might start getting a little soft from the moisture in the filling, but honestly, I doubt you’ll have any left!
Frequently Asked Questions About No Bake Butterfinger Pie
I get so many questions about this recipe because everyone wants to make sure they nail that perfect, dreamy texture! Here are a few things people ask me all the time about my simple no bake approach for this incredible candy bar creation.
Can I turn this into a frozen pie recipe?
That’s a great thought! Because this recipe relies on whipped topping and cream cheese, freezing it will change the texture significantly once it thaws. It will become more icy, closer to an ice cream cake than a creamy icebox pie. If you want to try freezing it—and some people swear by it!—I recommend covering it really well and letting it thaw on the counter for about 30 minutes before slicing. But honestly, the refrigerated chill time gives you the absolute best result!
What if I don’t have a pre-made chocolate cookie crust?
Oh, don’t worry if you don’t have a store-bought crust! That only saves five minutes, tops. You can make your own wonderful chocolate cookie crust in about ten minutes. Just crush up a sleeve of Oreos—filling and all, we’re not being picky here—and mix them with about 6 tablespoons of melted butter. Press that mixture firmly into your pie plate and pop it in the freezer for about 15 minutes to set before you fill it. It’s just as delicious!
Can I use crunchy peanut butter instead of creamy?
While I love crunchy peanut butter in a sandwich, for this specific creamy peanut butter pie filling, creamy is definitely the way to go. Crunchy peanut butter will result in tiny, hard pieces throughout your smooth filling once it chills, defeating the purpose of that velvety layer. You want the crunch to come only from the Butterfinger pieces, not the peanut butter base.
Can I use different candy in this recipe?
Absolutely! This is your kitchen, after all. If you don’t have Butterfingers or want a change, you can certainly try Snickers or Heath bars for a different kind of crunch! If you need help figuring out substitutions for other desserts, feel free to drop me a line over at my Contact page. And if you’ve got any tips on using other candy bars, please send them my way, or check out what others are doing, like the terrific version they shared at The Gracious Wife!
Understanding the Nutrition in Your Indulgent Dessert
Okay, let’s be real here. This Butterfinger Pie is totally an indulgence! It’s got candy bars, cream cheese, and a chocolate crust, so it definitely leans into that ‘treat yourself’ category. But hey, knowing what you’re eating is important, right? I always calculate this out because, just like my mom taught me, being honest about dessert is step one!
The numbers below are just my best estimates based on the ingredient amounts we used and breaking the pie down into 8 nice slices. These aren’t official lab results, of course, but they give you a good idea of what you’re enjoying in that big, dreamy bite!
- Serving Size: 1 slice
- Calories: Around 450 (Wowzers!)
- Fat: About 28g
- Carbohydrates: Roughly 45g
- Protein: About 7g
It’s definitely rich, but that’s why it’s so satisfying! A little slice goes a long way, especially when you’re serving it up as the grand finale for a family dinner. Enjoy every moment of this delicious dessert!
Share Your Experience Making This Butterfinger Pie
Now that you’ve whipped up this incredible no bake butterfinger pie, I absolutely want to hear all about it! Baking, even no-bake baking, is a community thing for me—it connects us.
Did you try adding some espresso powder to the filling? Did you go for the chocolate graham cracker crust instead of the Oreos? If you made any tweaks that you think future bakers should know about, please tell me in the comments below! Leaving a rating helps other folks find reliable, easy recipes like this one, too.
If you snapped a picture of your finished slice—especially if it’s looking gorgeous next to some coffee at a party—please tag us on social media! It brings me so much joy to see my kitchen creations end up on your tables.
We work hard to make sure every recipe is accessible and brings comfort, and leaving feedback helps us keep that promise to you and the rest of our HearthBite family. Thanks for trusting me with your dessert plans, and don’t forget to check out our privacy policy if you have any questions about your data!
PrintEasiest No-Bake Butterfinger Pie (Ready in 20 Minutes!)

Make this easy, no-bake Butterfinger Pie featuring a creamy peanut butter filling, crunchy candy pieces, and a chocolate cookie crust. It is a quick dessert perfect for potlucks and family gatherings.
- Prep Time: 20 min
- Cook Time: 0 min
- Total Time: 4 hr 20 min
- Yield: 8 servings 1x
- Category: Dessert
- Method: No Bake
- Cuisine: American
- Diet: Vegetarian
Ingredients
- 1 (9 inch) pre-made chocolate cookie crust
- 1 cup cold milk
- 1 (8 ounce) package cream cheese, softened
- 1 cup powdered sugar
- 1 teaspoon vanilla extract
- 1/2 cup creamy peanut butter
- 1 (12 ounce) container frozen whipped topping, thawed
- 1 1/2 cups crushed Butterfinger candy bars
Instructions
- Crush the Butterfinger candy bars and set aside about 1/2 cup for topping.
- In a large bowl, beat the cold milk, softened cream cheese, powdered sugar, vanilla extract, and peanut butter until smooth and creamy.
- Gently fold in most of the thawed whipped topping, reserving some for the top layer.
- Fold in the majority of the crushed Butterfinger pieces into the filling mixture.
- Pour the filling into the pre-made chocolate cookie crust.
- Spread the remaining whipped topping over the filling.
- Sprinkle the reserved crushed Butterfinger pieces over the top layer.
- Chill the pie in the refrigerator for at least 4 hours, or until firm.
Notes
- You can use a frozen pie crust, but allow it to thaw slightly before filling.
- For a richer flavor, use a chocolate graham cracker crust instead of a pre-made cookie crust.
- Prepare this pie a day ahead for the best texture.
Nutrition
- Serving Size: 1 slice
- Calories: 450
- Sugar: 35g
- Sodium: 350mg
- Fat: 28g
- Saturated Fat: 10g
- Unsaturated Fat: 18g
- Trans Fat: 0.5g
- Carbohydrates: 45g
- Fiber: 1g
- Protein: 7g
- Cholesterol: 30mg