
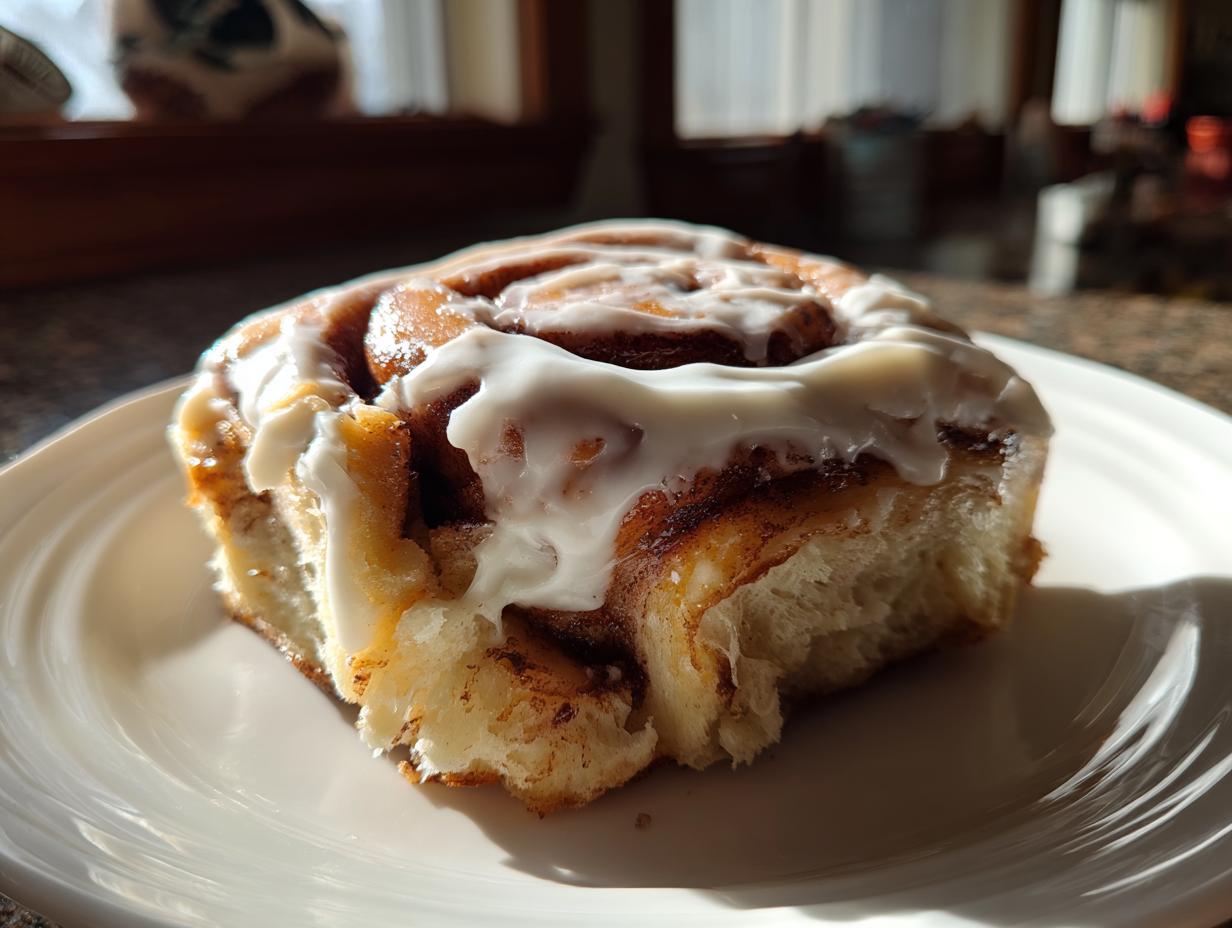
Oh, that smell! There is simply nothing better than waking up on a Saturday morning, pulling back the covers, and realizing the entire house is slowly being filled with the warm, intoxicating aroma of baking sugar and spice. Trust me when I say that the search for the best cinnamon roll ends right here. This recipe is my absolute favorite way to bring that bakery-quality feeling right into my own kitchen. It’s based on years of testing to guarantee you get those soft, gooey, pull-apart centers every single time, because that’s what real American comfort cooking is all about.
- Why This is the Best Cinnamon Roll Recipe You Will Ever Make (E-E-A-T)
- Gathering Ingredients for Your Soft Cinnamon Roll
- Step-by-Step Instructions for Perfect Homemade Cinnamon Rolls
- Tips for Success: Achieving Bakery-Quality Cinnamon Rolls
- Cinnamon Roll Variations to Try Next Time
- Serving Suggestions for Your Homemade Pastry
- Storing and Reheating Leftover Cinnamon Rolls
- Frequently Asked Questions About Making Cinnamon Rolls
- Share Your Perfect Cinnamon Roll Experience
Why This is the Best Cinnamon Roll Recipe You Will Ever Make (E-E-A-T)
Listen, I’ve tried every quick fix out there, but if you want the true magic—the kind that makes people ask for the recipe before they even finish their first roll—you need patience. That’s the secret to making the best cinnamon roll. This dough isn’t skimpy; it’s rich with butter and eggs, which gives it that incredible structure that holds onto all the filling without getting tough.
The two rising times are non-negotiable, folks. That first slow rise builds the flavor we need, and the second rise right before baking creates that super fluffy texture. I perfected this yeast roll recipe after trying to rush it for a big family brunch one year—big mistake! They tasted okay, but they didn’t have that legendary pull-apart quality. Now? I never skip a step, and every time they come out golden, I know I’m on the right track to making someone’s day a whole lot better. You can read a little more about why we focus on this kind of comforting food over on our about page, which really explains why these details matter to me. It’s about consistency, and that’s what we build here.
Gathering Ingredients for Your Soft Cinnamon Roll
Okay, now that you’re totally convinced this is the recipe you have to try today, let’s gather our treasures. Don’t let this list scare you; it’s just a few groupings of things we need for the dough, the filling, and that glorious icing. The most important thing I can tell you upfront is to make sure your ingredients are at the right temperature. Nothing messes up tender dough faster than using cold eggs or butter straight from the fridge! We need soft butter for the dough and filling, and room temperature eggs really help everything emulsify nicely.
Ingredients for the Rich Cinnamon Roll Dough
- 1 cup whole milk, warm (about 110°F)
- 2 1/4 teaspoons active dry yeast
- 1/2 cup granulated sugar, plus 2 tablespoons for the filling
- 1/2 cup unsalted butter, softened, plus 1/2 cup for the filling
- 2 large eggs, room temperature
- 4 cups all-purpose flour, plus more for dusting
- 1 teaspoon salt
Ingredients for the Gooey Cinnamon Filling
- 1/2 cup packed light brown sugar
- 2 tablespoons ground cinnamon
- 1/2 cup (1 stick) unsalted butter, melted, for brushing (This is different from the softened butter used in the dough!)
Ingredients for the Cream Cheese Icing
- 8 ounces cream cheese, softened
- 1 teaspoon vanilla extract
- 2 cups powdered sugar, sifted
Step-by-Step Instructions for Perfect Homemade Cinnamon Rolls
Alright, let’s ditch the pre-made tubes and start making real, unforgettable homemade cinnamon rolls! This process is methodical, but I promise, it flows so smoothly once you get into the rhythm. We’re building a beautiful, functional yeast roll recipe here, so pay attention to those resting times—they are doing more work than your hands are!
Activating the Yeast and Mixing the Cinnamon Roll Dough
First things first: proofing the yeast! You must make sure your milk is warm—not hot, not lukewarm, but truly warm, about 110°F. If it’s too hot, you kill the yeast, and then we have to start over, which is a heartbreak. Just mix the warm milk with 1 teaspoon of the yeast and let it sit for about five minutes until it gets nice and foamy on top. That foam is proof that your yeast is ready to party!
Once foamy, toss in everything else: the rest of your sugar and yeast, your softened butter, your room-temperature eggs, the flour, and the salt right into your mixer bowl. I use the dough hook for this. Start slow so you don’t get a flour cloud, and then let it run on medium speed for a full five minutes until that dough looks smooth, silky, and pulls away from the sides of the bowl. It should feel elastic!
The Crucial First Rise and Preparing the Filling
Now, this dough needs a nice nap. Lightly oil a clean bowl and pop the dough in, turning it over once so the top has a little protection. Cover it tight—plastic wrap works perfectly—and tuck it away somewhere warm for 1 to 1.5 hours. We want it doubled in size! While your dough is doing its thing, go ahead and cream together that 1/2 cup of softened filling butter with your brown sugar and cinnamon until it forms a thick, spreadable paste. Honestly, this filling smells like heaven already.
Shaping, Rolling, and Slicing Your Cinnamon Roll Log
When your dough has ballooned up, gently punch that air out—it’s so satisfying! Dust your counter maybe a little heavier than you think you need to, because we’re rolling this out into a big rectangle, about 12 inches by 18 inches. Spread that amazing cinnamon mixture all the way across, but here’s a super key detail: leave a 1-inch strip bare along one of the long edges. This gap is your seal!
Starting from the opposite long edge, roll that dough up as tightly as you possibly can into a snug log. Once you hit the bare edge, wet that 1-inch strip with a tiny bit of water and pinch the seam closed really hard so it doesn’t unravel while baking. Then, using a sharp, un-floured knife or even dental floss, cut that tight log into 12 even pieces.
Second Rise and Baking the Sweet Breakfast Recipe
Place those gorgeous rolls cut-side up in your greased 9×13 pan. They should be cozy but not totally touching yet. Cover them up again and let them rest for 30 to 45 minutes. They need to puff up again—that’s key for a soft texture! While they are getting puffy, go ahead and preheat that oven to 375°F. When they look puffy and inviting, slide them in for 20 to 25 minutes, until they are beautifully golden brown. They shouldn’t be dark brown; golden is perfect for this sweet breakfast recipe!
Finishing Your Cinnamon Roll with Cream Cheese Icing
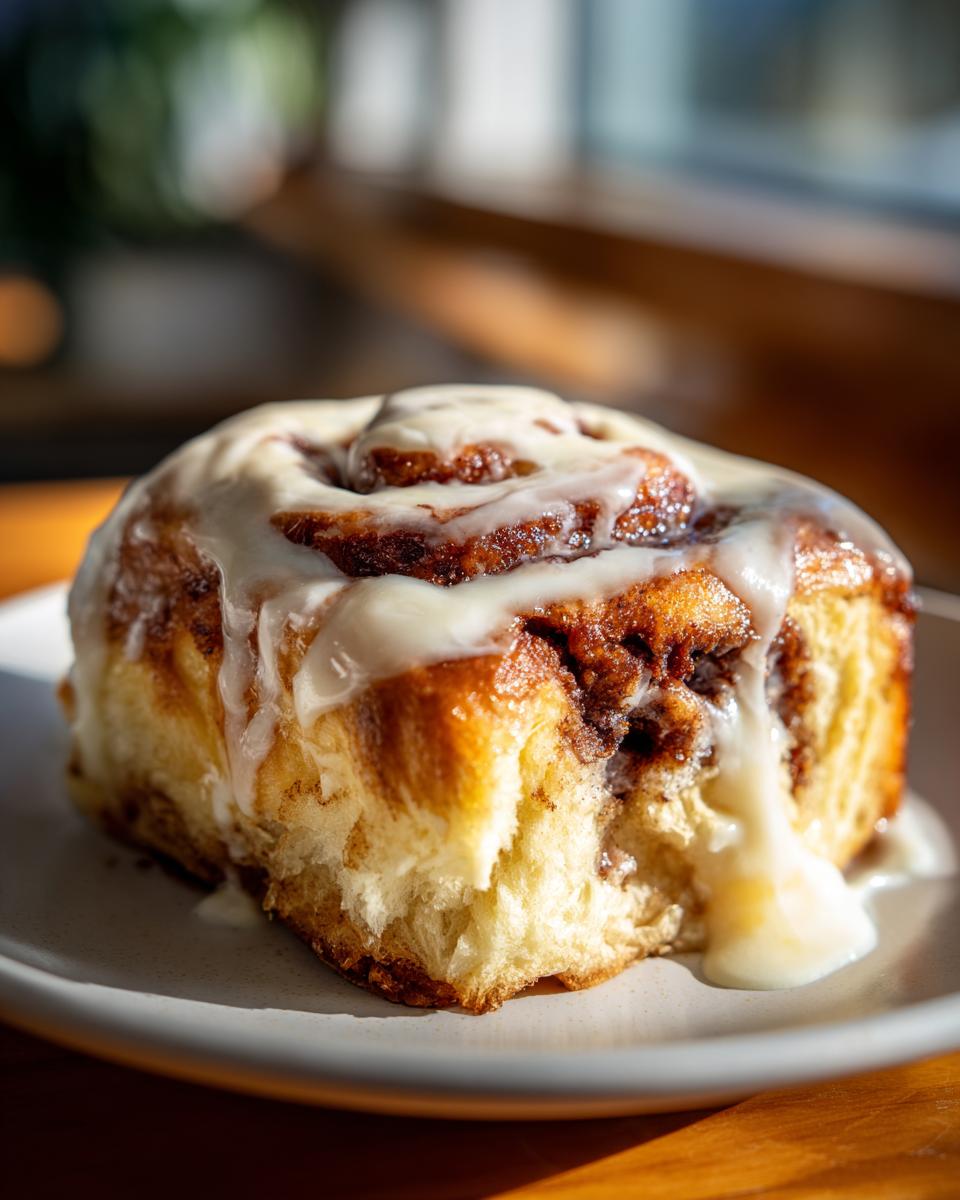
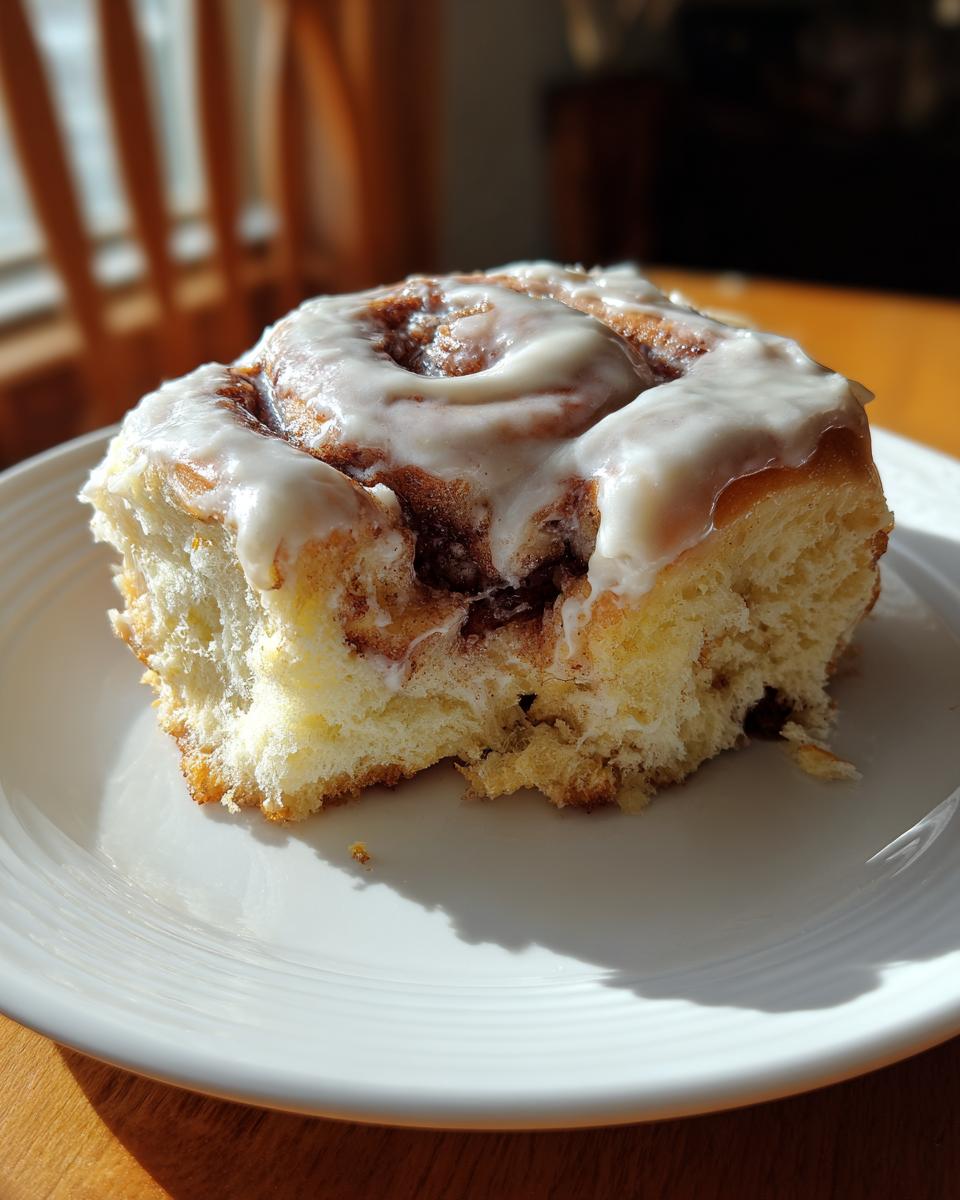
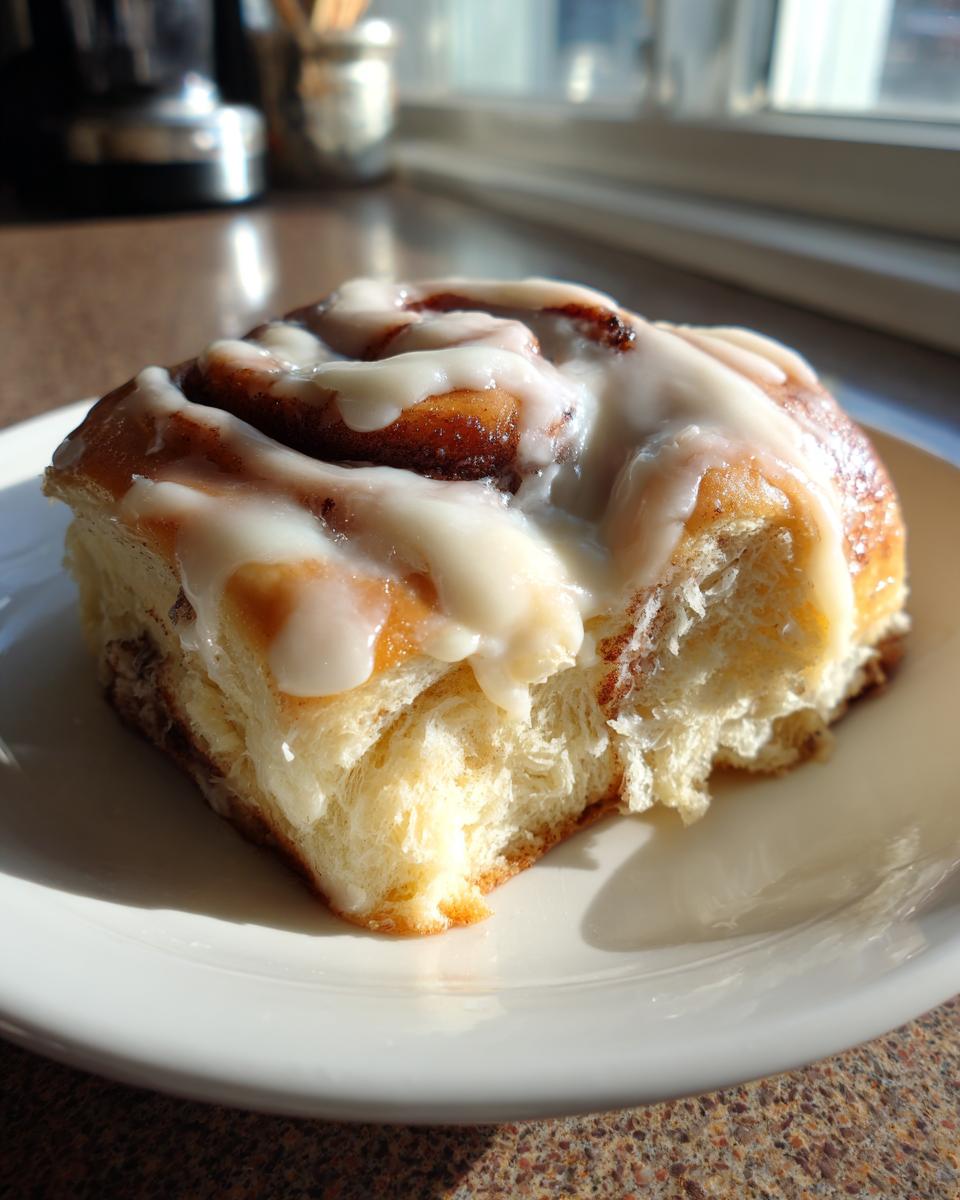
Don’t let those rolls cool completely! The icing melts just right when it hits a warm surface. While they are cooling off from the oven for just a few minutes, whisk your softened cream cheese, vanilla, and sifted powdered sugar until it’s smooth as silk. If you find it’s too stiff—and sometimes it can be depending on the brand of powdered sugar—just stir in milk one tiny teaspoon at a time until it’s perfectly spreadable. Slather it on generously while the rolls are still warm enough to melt it just a little. Divine!
Tips for Success: Achieving Bakery-Quality Cinnamon Rolls
We’ve made it through the rising and rolling, but now we talk about those little tricks that separate a good roll from the ones that make people immediately ask, “Did you buy these?” Getting that bakery-quality, super soft texture is all about handling, temperature, and a tiny bit of post-bake love. Don’t worry, these aren’t complicated science experiments, just things I learned the hard way!
My absolute favorite trick that ensures these are the softest rolls ever is what I do right when they come out of the oven. Before the icing even thinks about touching them, brush the tops liberally with some of that reserved melted butter. It locks in every ounce of moisture and gives them that irresistible, slightly glossy look.
Dough Handling Secrets for Easy Cinnamon Rolls
When you get to rolling out that big sheet of dough to make your easy cinnamon rolls, the flour on the counter is your friend, but don’t overdo it! Too much flour makes the dough heavy and chewy, which we absolutely don’t want in a fluffy roll. Dust lightly, just enough so the dough doesn’t stick while you roll it into that 12 by 18-inch rectangle.
And remember pinching that seam? That’s non-negotiable for keeping the filling inside where it belongs. After you roll it tightly, make sure that final edge is really sealed against the rest of the log. If you pinch it hard, you won’t have filling oozing out the bottom of the pan while baking; it stays right in those beautiful spirals!
Making Ahead Storage for Your Cinnamon Roll Dough
I’m a huge fan of getting a head start, especially when I know I want rolls for Sunday brunch. You can totally prep this dough ahead of time, which makes the morning incredibly simple. After you mix the dough and it completes its first rise (Step 3), gently punch it down as usual, but instead of moving to the filling step, wrap that dough super tightly in plastic wrap—like, vacuum seal tight—and pop it into the fridge overnight.
The cold temperature slows the rising process way down, which actually deepens the flavor, too! Just make sure when you pull it out the next morning, you let it sit on the counter, still wrapped, for about an hour or so until it warms up enough to handle easily. Then, you just proceed with spreading the filling and letting it have its second rise. It works like a charm every time!
Cinnamon Roll Variations to Try Next Time
One thing I absolutely love about finding a solid, reliable base recipe—like this one—is knowing you can tweak it constantly to keep things fresh. These cinnamon rolls are delicious exactly as written, but who doesn’t love mixing it up a bit for the next batch? These adjustments aren’t complicated; they just give you a little creative kitchen license!
For starters, if you are baking for a crowd that loves texture, try adding about 1/2 cup of roughly chopped pecans or walnuts right into your cinnamon filling mixture before you spread it on the dough. The crunch against the gooey center is just phenomenal. You’ll want to toast them lightly first in a dry skillet to really wake up their flavor!
If you want to switch up the spice profile, ditch the vanilla extract in the icing and swap it for a quarter teaspoon of almond extract instead. Almond and cinnamon are baking soulmates! It gives the cream cheese icing a really sophisticated, slightly marzipan-like note that pairs beautifully with the buttery dough. Wow, that’s a treat.
Finally, for a slightly more complex sweetness in the filling, try using pure Grade A dark maple sugar instead of the brown sugar. It’s a little trickier to work with because maple sugar is finer, but the molasses flavor depth you get is incredible. If you swap it out, you might only need about half a cup, so taste your filling mix first before you spread it around!
Serving Suggestions for Your Homemade Pastry
When these hot, gooey rolls come out of the oven, they truly deserve the spotlight! But if you’re making a full brunch spread, you need the perfect supporting cast for your amazing homemade pastry. Honestly, the absolute best pairing is a large, steaming mug of strong, dark-roast coffee. The bitterness cuts right through that rich cream cheese icing perfectly.
If you want something fresh on the side, I always recommend a simple bowl of sliced oranges or maybe some tart raspberries. They give the palate a nice break from all that sweet richness. For the savory lovers at the table, a few slices of crispy bacon or some perfectly poached eggs are fantastic alongside the rolls!
Storing and Reheating Leftover Cinnamon Rolls
I find it hard to believe there are ever leftovers, but if you manage to save a few of these beauties, you need to treat them right so they taste just as amazing the next day. Don’t just shove them in a plastic bag! Store them tightly covered at room temperature if you plan to eat them within two days. If they need to last longer, pop them in the fridge.
To bring back that fresh-from-the-oven softness, skip the microwave for the best results. Wrap the roll loosely in foil (this keeps the moisture in!) and warm it up in a 350°F oven for about ten minutes. If you’re in a real hurry, a quick 15 seconds in the microwave works, but give it a quick sprinkle of water first to prevent it from getting tough.
Frequently Asked Questions About Making Cinnamon Rolls
It happens to all of us—you’re ready to bake, but a little question pops up right when you need the answer fast. Don’t let a small doubt stop you from enjoying these incredible rolls! I field these same questions all the time about my best cinnamon roll recipe. Here are the most common ones:
Can I skip the second rise for my cinnamon roll recipe?
Oh, please don’t! I know it seems like we can cheat the clock when making a sweet breakfast recipe like this, but skipping that second rise is what makes rolls dense and chewy instead of light and fluffy. That second rest period allows the yeast to create a little more air, expanding those coils you worked so hard to create. If you skip it, you’ll end up with something closer to a thick, sweet bread dough rather than a pillowy roll.
What is the secret to making the best cinnamon roll icing?
The icing consistency is everything, right? You want it thick enough to sit on top but oozy enough when warm! The secret here has two parts. First, your cream cheese absolutely *must* be fully softened—room temperature soft, not half-melted soft, or you’ll get lumps! Second, use good-quality, finely sifted powdered sugar. If your sugar is lumpy, your icing will be lumpy. Remember, if it’s too stiff, just add milk a teaspoon at a time until it pours beautifully over those warm rolls.
If you have any other burning questions about troubleshooting your homemade pastry, feel free to reach out on our contact page—I love hearing how everyone’s baking turns out!
Share Your Perfect Cinnamon Roll Experience
Now that your kitchen smells like the most welcoming place on earth, I really want to hear how it went! Finding that perfect, foolproof creation is such a victory, and sharing the success just makes it taste even sweeter. Did the dough come out silky smooth when you mixed it? Did you manage to resist tasting the filling before it hit the pan?
Honestly, leave me a comment below, right under the recipe card! Tell me about the best part—was it that first buttery bite, or maybe the look on your family’s face when they saw the pan? I read every single note, and knowing that this recipe brought the same kind of joy to your table that it brings to mine means the world. Every time someone tells me they achieved that bakery-quality softness, I feel like I’ve earned my apron for the day!
If you took a picture of your impossibly gooey batch, please share it on social media and tag us! We love seeing your beautiful work. And hey, while you’re here, take a peek at our privacy policy just so you know how we handle all that sweet neighborhood gossip you share in the comments. Go enjoy those rolls, you earned it!
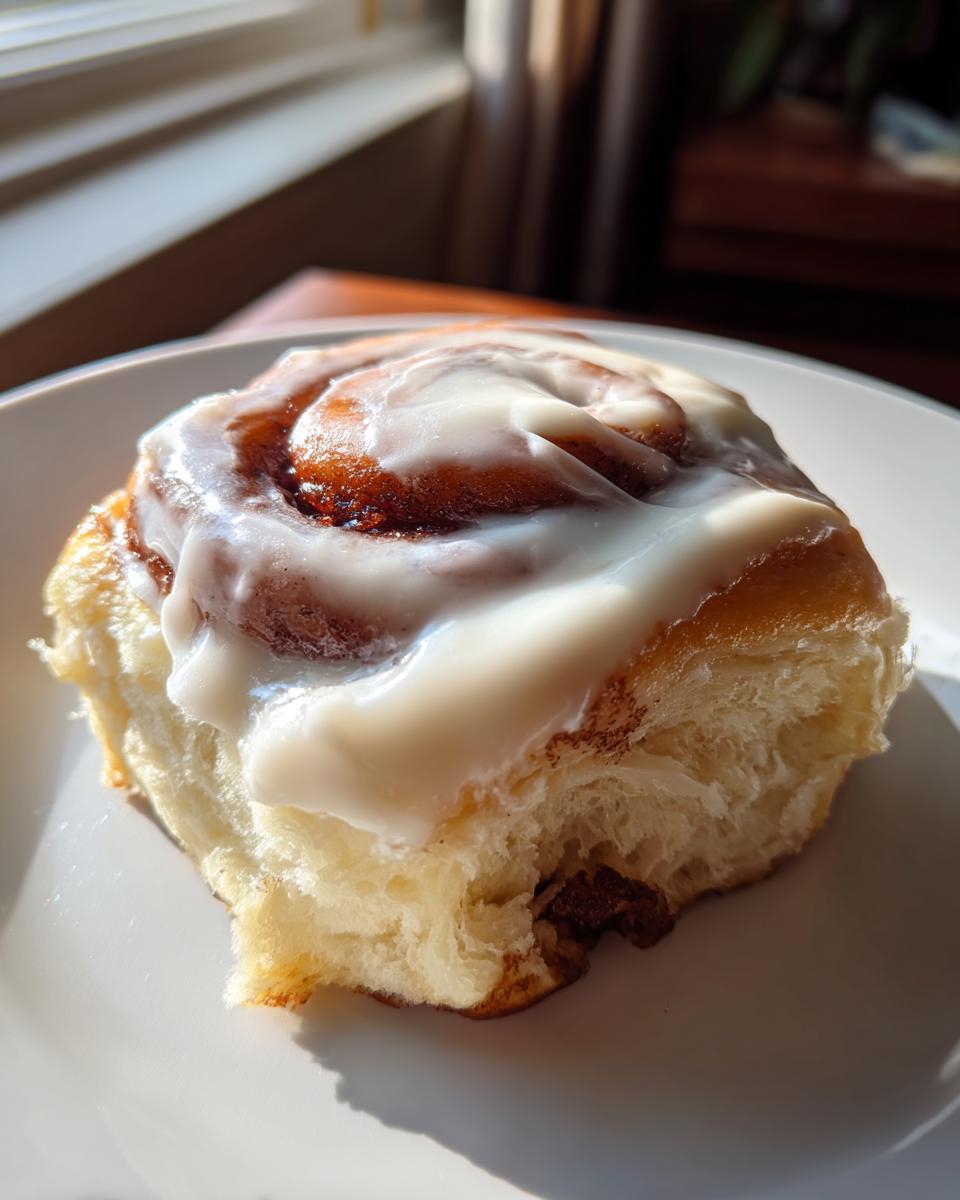
PrintSoft and Gooey Homemade Cinnamon Rolls

Follow these steps to make soft, fluffy yeast rolls filled with cinnamon sugar and topped with a rich cream cheese icing. This recipe yields bakery-quality results for your next special breakfast.
- Prep Time: 30 min
- Cook Time: 25 min
- Total Time: 2 hours 40 min
- Yield: 12 servings 1x
- Category: Breakfast
- Method: Baking
- Cuisine: American
- Diet: Vegetarian
Ingredients
- 1 cup whole milk, warm (about 110°F)
- 2 1/4 teaspoons active dry yeast
- 1/2 cup granulated sugar, plus 2 tablespoons for the filling
- 1/2 cup unsalted butter, softened, plus 1/2 cup for the filling
- 2 large eggs, room temperature
- 4 cups all-purpose flour, plus more for dusting
- 1 teaspoon salt
- 1/2 cup packed light brown sugar, for the filling
- 2 tablespoons ground cinnamon, for the filling
- 1/2 cup (1 stick) unsalted butter, melted, for brushing
- 8 ounces cream cheese, softened
- 1 teaspoon vanilla extract
- 2 cups powdered sugar, sifted
Instructions
- Activate the yeast: In a large bowl, combine the warm milk and 1 teaspoon of the yeast. Let stand for 5 minutes until foamy.
- Mix the dough: Add the 1/2 cup granulated sugar, 1/2 cup softened butter, eggs, remaining 1 1/4 teaspoons yeast, flour, and salt to the yeast mixture. Mix with a stand mixer on low speed until combined, then increase speed to medium and beat for 5 minutes until the dough is smooth and elastic.
- First rise: Place the dough in a lightly oiled bowl, turning to coat. Cover the bowl with plastic wrap and let it rise in a warm place for 1 to 1 1/2 hours, or until doubled in size.
- Prepare the filling: While the dough rises, mix the 1/2 cup softened butter (for filling), 2 tablespoons granulated sugar, brown sugar, and cinnamon in a small bowl until smooth.
- Shape the dough: Punch down the risen dough. On a lightly floured surface, roll the dough into a large rectangle, about 12 by 18 inches.
- Fill and roll: Spread the cinnamon filling evenly over the dough, leaving a 1-inch border on one long edge. Starting from the long edge opposite the border, tightly roll the dough into a log. Pinch the seam closed.
- Slice the rolls: Cut the log into 12 equal pieces. Place the rolls, cut-side up, in a greased 9×13 inch baking pan.
- Second rise: Cover the pan loosely and let the rolls rise again in a warm place for 30 to 45 minutes, until puffy.
- Bake: Preheat your oven to 375°F. Bake for 20 to 25 minutes, or until golden brown.
- Make the icing: While the rolls cool slightly, beat the softened cream cheese, vanilla extract, and powdered sugar together until smooth. Add a tablespoon of milk if the icing is too thick.
- Ice the rolls: Spread the cream cheese icing generously over the warm rolls. Serve immediately.
Notes
- For extra soft rolls, brush the tops with melted butter immediately after they come out of the oven before adding the icing.
- If you want a thinner icing, add milk one teaspoon at a time until you reach your desired consistency.
- You can prepare the dough the night before, let it rise once, punch it down, wrap it tightly, and refrigerate it. Bring it to room temperature before the second rise.
Nutrition
- Serving Size: 1 roll
- Calories: 450
- Sugar: 45g
- Sodium: 350mg
- Fat: 25g
- Saturated Fat: 15g
- Unsaturated Fat: 10g
- Trans Fat: 0.5g
- Carbohydrates: 55g
- Fiber: 2g
- Protein: 7g
- Cholesterol: 75mg