

There’s just something magical about a perfectly decorated sugar cookie, isn’t there? That smooth, glossy top that dries hard as a rock—it’s pure edible art! Honestly, I spent years wrestling with messy icing until I finally perfected this specific royal icing recipe. It uses meringue powder, which takes all the scary guesswork out of the equation, leaving you with results that are shiny and reliable every single time.
Here at HearthBite, we believe cooking should feel like joy, not a chore. That’s why Sarah loves this formula; it’s simple, it always works, and it brings that comforting, nostalgic feeling of a kitchen well-used. If you’ve been looking for the best way to top your holiday cutouts or gingerbread houses, trust me, this is the one you need to save!
- Why This Royal Icing Recipe Works Every Time
- Gathering Ingredients for Your Royal Icing Recipe
- How to Make Royal Icing: Step-by-Step Instructions
- Mastering Piping Icing Consistency for Your Royal Icing Recipe
- Storage and Handling of Your Royal Icing Recipe
- Tips for Success with This Hardening Icing Recipe
- Frequently Asked Questions About This Royal Icing Recipe
- Estimated Nutritional Information for Royal Icing Recipe
- Share Your Creations Using This Royal Icing Recipe
Why This Royal Icing Recipe Works Every Time
I get it—making icing that sets up perfectly, dries hard, and doesn’t crack seems like an impossible sweet science. That’s why I swear by this particular royal icing recipe. It gives you professional-level shine and stability without any of the fuss or worry that comes with using raw egg whites. This formula is beginner-friendly but trusted by seasoned decorators too!
The Benefits of Meringue Powder Royal Icing Recipe
The star here is the meringue powder, which is just a miracle product. It takes all the guesswork out of balancing whites and tartaric acid. Adding it means your icing is incredibly stable. You get that beautiful, consistent texture whether you’re outlining teeny tiny details or covering a whole cookie. It’s my go-to for peace of mind!
Achieving a Glossy Cookie Icing Finish
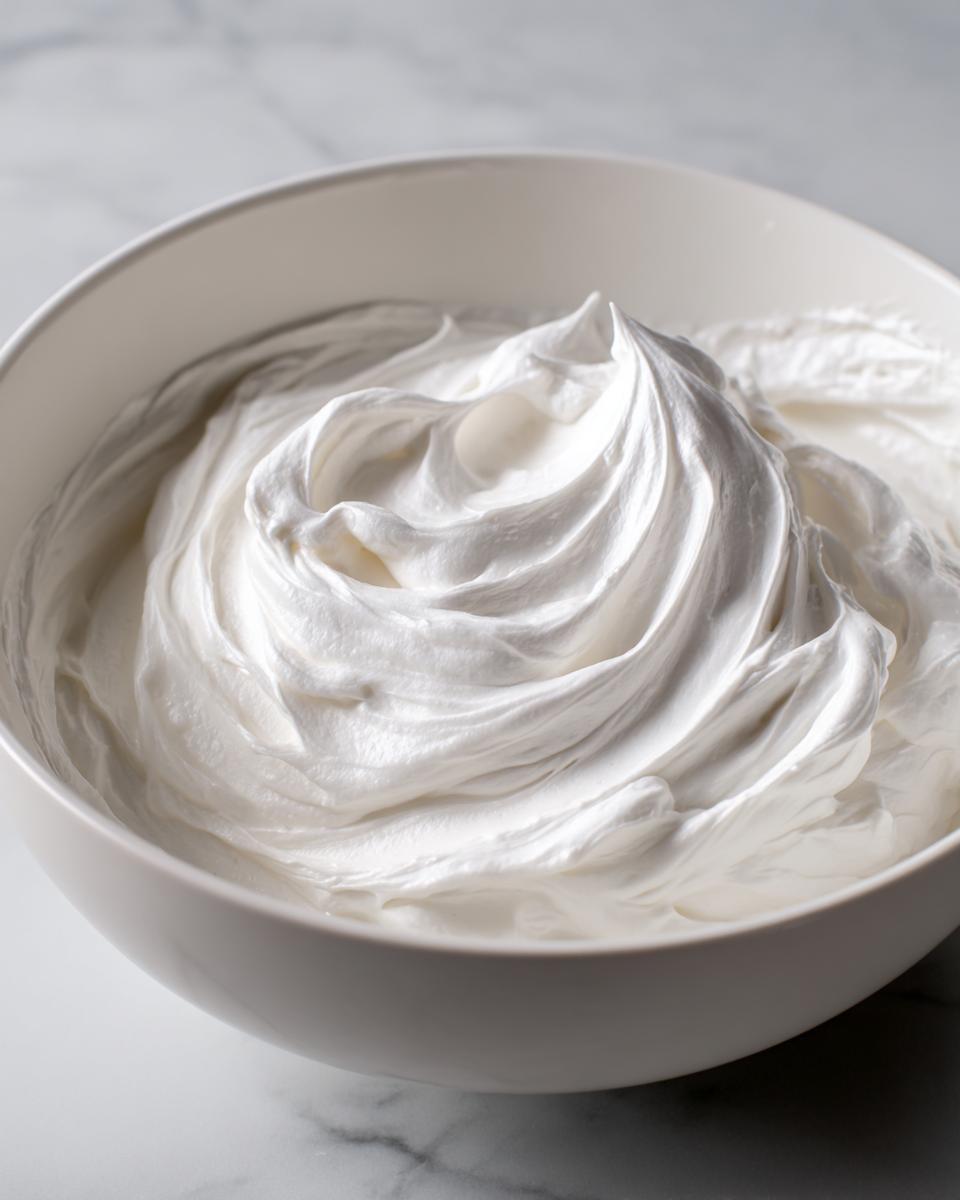
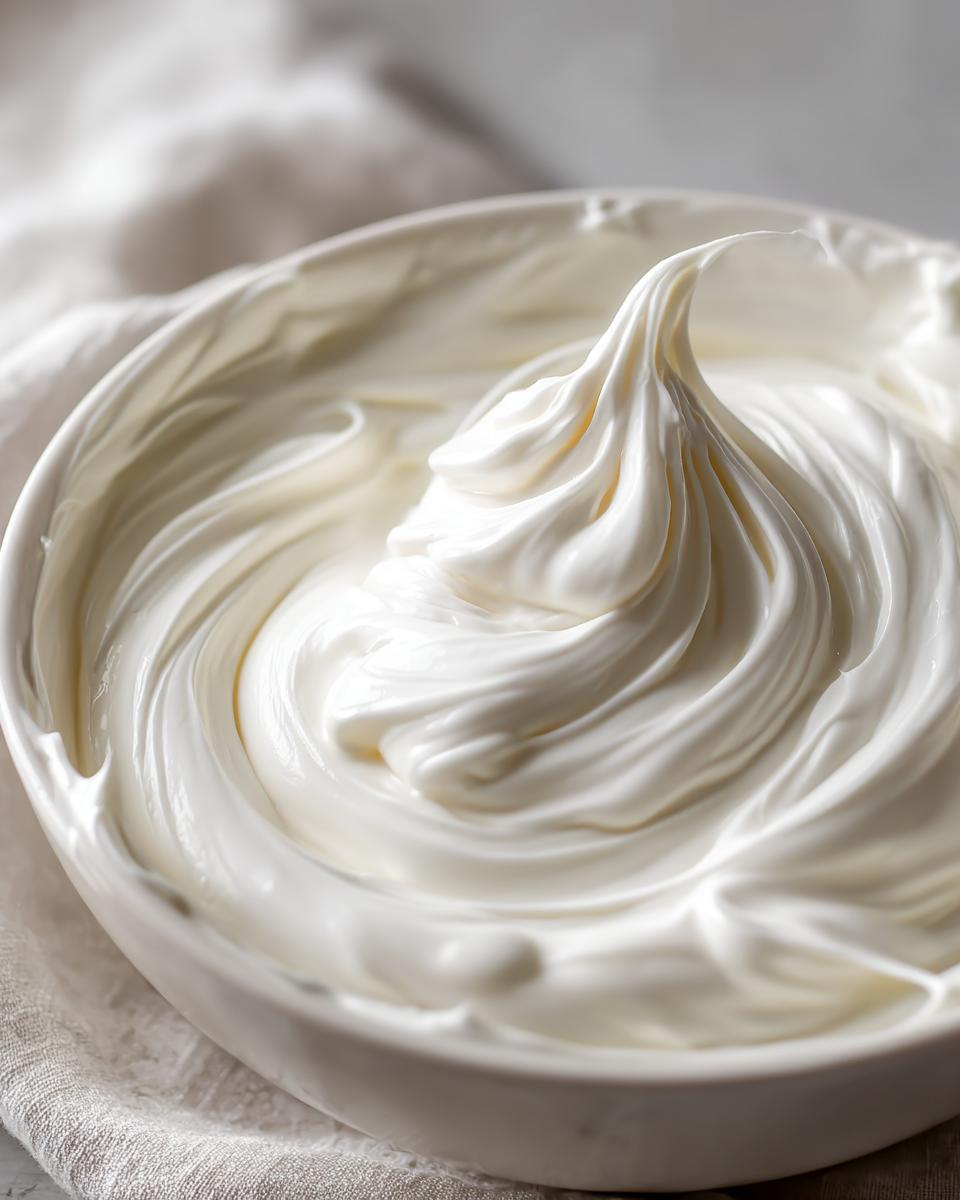
Listen, the glossiness doesn’t happen by accident; it’s the beating time! You need to beat this mixture until it goes from looking like grainy paste to something almost blindingly white and smooth. When you incorporate enough air during that long, slow, high-speed whip, you naturally develop that brilliant shine. This results in the most gorgeous glossy cookie icing you’ll ever pipe!
Gathering Ingredients for Your Royal Icing Recipe
Alright, let’s get organized! The secret to foolproof icing is making sure you have your components measured perfectly before you even turn on the mixer. We aren’t trying to scramble here! Make sure you have the four cups of confectioners’ sugar already sifted—trust me on this one, it prevents everything from turning into tiny, hard lumps later on. Grab that meringue powder and your warm water, too. This base formula keeps things simple, which is exactly what you want for consistent decorating results.
We use meringue powder specifically, which is fantastic for stability, especially if you plan on making icing ahead of time for cookies or gingerbread houses.
Ingredient Notes and Substitutions for Perfect Royal Icing
The quality of your start really matters here. Please, please sift that powdered sugar! It seems like an extra step, but it ensures a smooth base, which is what gives you that professional, glossy coating. Vanilla extract is the classic flavor, but if you really want the icing flavor to disappear so the sugar cookie shines through, try the almond extract instead—it’s my favorite way to go!
Oh, and that optional cream of tartar? That’s my little expert tip for you. It’s not required, but if you notice your icing sometimes gets just a tiny bit grainy or crystallized later on, a dash of cream of tartar helps lock in that ultra-smooth texture we are aiming for.
How to Make Royal Icing: Step-by-Step Instructions
Now that we have our ingredients lined up like little soldiers, it’s time for the fun part: mixing! Getting this right is the core of our amazing royal icing recipe. You don’t want to just dump everything in and hope for the best; we need method, people!
Mixing the Base for Your Easy Royal Icing
First thing’s first: get the sugar, meringue powder, and cream of tartar, if you’re using it, into your big bowl. Give them a quick, gentle whisk just to combine those dry bits. Now, add your warm water and your extract. When you put this on the electric mixer, you absolutely have to start on the lowest speed. If you don’t, you’ll look like you wrestled a powdered sugar ghost! Start slow until everything is hydrated and just barely coming together.
Beating to Achieve Stiff Peaks in This Royal Icing Recipe
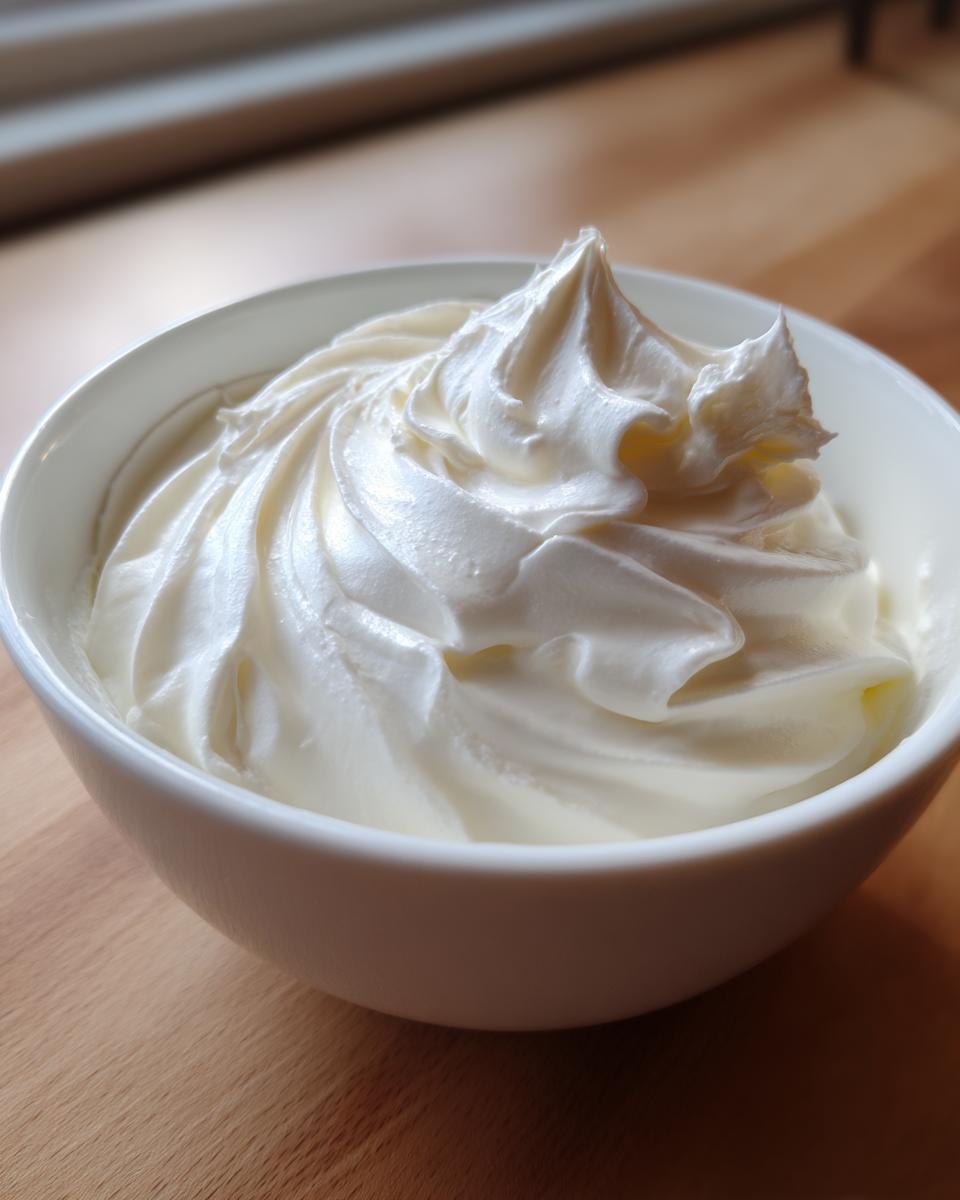
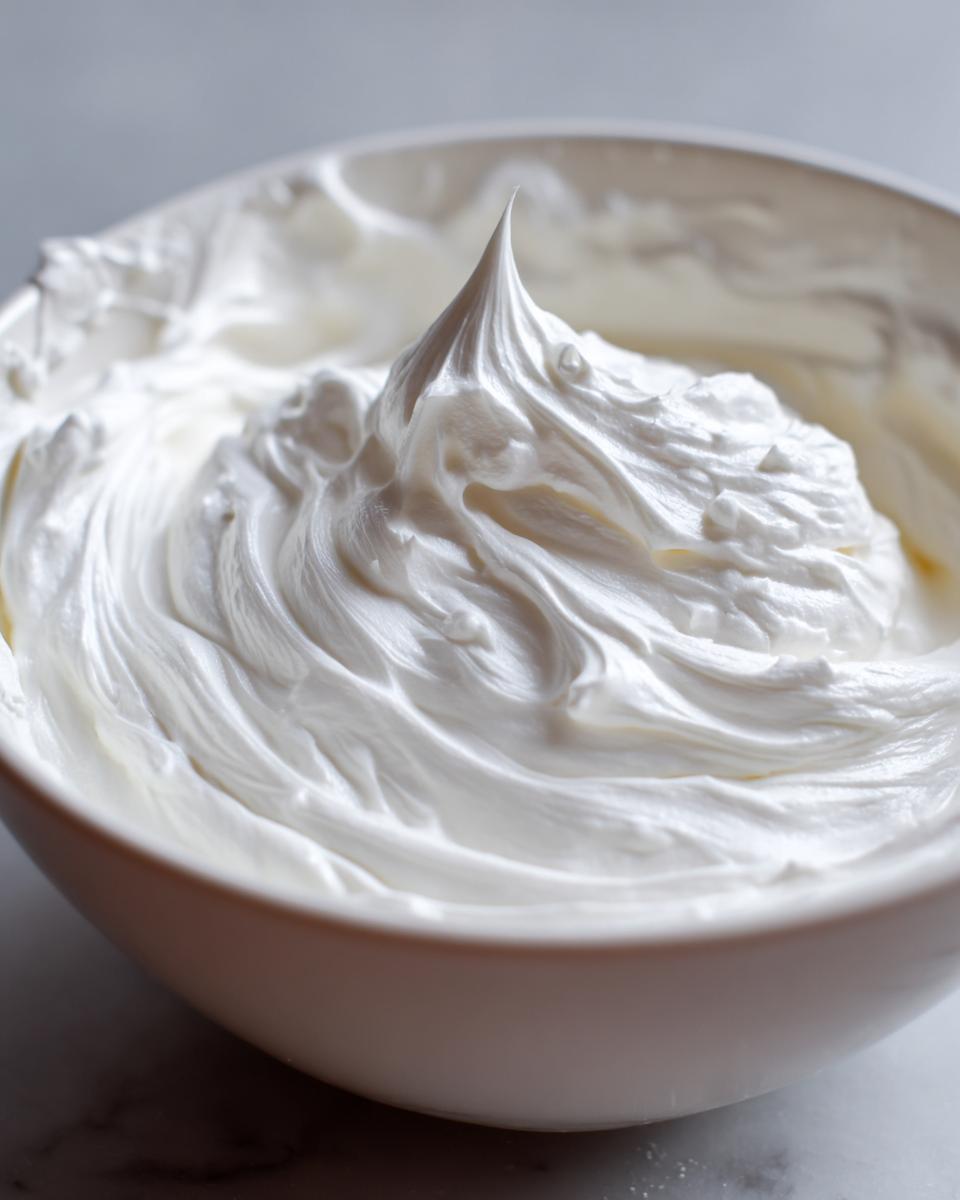
Okay, this is where the magic happens, and yes, it takes a minute! Once everything is combined, crank that mixer up to medium-high speed. You need to beat this mixture for a full 5 to 7 minutes. Seriously, set a timer! As it whips, it’s going to transform from a slightly yellowish sludge into this stunningly bright white, thick frosting. When you lift the beater, those peaks should stand straight up—stiff peaks! That means the air is perfectly incorporated, giving you icing that sets up hard and glossy.
If you run into any trouble or have questions about timing, don’t hesitate to reach out to me over at the contact page. Happy mixing, and check out how others achieved this shine on sites like this one for inspiration!
Mastering Piping Icing Consistency for Your Royal Icing Recipe
You did the hard part, you whipped it perfectly! But here’s a little secret: one batch of icing rarely fits all decorating needs. You need super-stiff icing to draw sharp borders, but you need runny icing to fill those borders in smoothly. That’s why mastering the consistency is the most crucial step in using this easy royal icing formula.
Adjusting for Flood Consistency Icing
If you’re trying to flood a large sugar cookie outline, you need that icing to settle quickly but smoothly. This is where you add water, and you have to go slow! Add just one teaspoon of warm water at a time, mix it in gently, and then test it. How do you test it? You drizzle some icing off your spatula back into the bowl. If it disappears back into the main bowl of icing in about 10 to 15 seconds—voilà! That’s your perfect flood consistency icing. If it settles faster, add another tiny splash of water. Remember, you can always add more liquid, but you can’t easily take it out!
Creating Thick Consistency Icing for Outlining
For sharp, beautiful details like writing headlines or creating those crisp edges that look professional, you need what we call 15-second icing, or piping consistency. If your batch got a little too wet during the flood consistency adjustment (oops, happens to the best of us!), you just add more dry power. Take some of the icing you mixed and slowly whisk in sifted confectioners’ sugar, one tablespoon at a time. Keep going until the icing holds a stiff peak when you lift your mixer beater. If you’re practicing making little royal icing flowers, you’ll want an even thicker batch than this, so don’t be afraid to really pack in that sugar!
Getting these consistencies right makes the whole decorating process so much easier. Check out experts like the folks over at Chefyoyo for visual examples on how these different flows should look when they hit the bowl!
Storage and Handling of Your Royal Icing Recipe
Okay, you’ve made the best batch ever, and now you’re staring at a bowl of perfect, glossy frosting. Don’t let all that hard work dry out on you! Royal icing, bless its heart, gets crusty if you look at it wrong. The number one absolute rule for preserving your royal icing recipe is preventing air exposure. Seriously, that crust is the enemy!
When I’m done mixing or after I’ve poured the icing I need into a small piping bag, I cover the bowl immediately. Don’t just throw a loose piece of plastic wrap over it—that doesn’t work. You need to take a piece of plastic wrap and press it directly onto the surface of the icing. Make sure there are no air pockets between the wrap and the wet surface. It sounds dramatic, but this airtight seal is what keeps that beautiful, smooth texture intact.
The good news is that this icing stores really well while you’re decorating over a few days! You can actually keep your unused, covered icing airtight at room temperature for up to two whole weeks. Can you believe it? No need to cram everything into the fridge, which is actually a big no-no for royal icing anyway. Just keep it somewhere cool and dry until the next time you’re ready to decorate. For more inspiration on handling your mixtures, check out the great tips over at Peanut Blossom!
Tips for Success with This Hardening Icing Recipe
You’ve mixed it, you’ve thinned it, and now you’re ready to let it dry! The best part about this hardening icing recipe is that slow and steady finish. Before you set your beautifully decorated cookies aside, make sure you try to eliminate any major air bubbles lingering on the icing surface. You can do this by gently tapping the cookie sheet sharply against the counter a few times or using a scribe tool to pop any big air pockets.
Air bubbles popping is key because it prevents weeping later. Weeping—you know, when the icing looks like it’s sweating—usually happens if water or sugar separates too much during drying, or if they get moved too quickly into a humid spot. Let them dry at room temperature, away from direct sun or high moisture areas.
If you are making royal icing flowers or writing tiny lettering, you need that ultra-stiff consistency. For flowers, make the icing barely movable. You want it so stiff that when you pipe a shape, it looks exactly like you placed it, with zero flow whatsoever. It stiffens up beautifully once dry, leaving you with professional-looking accents. For more expert advice on getting that perfect, crack-free finish, I always look at tutorials from places like The Miller’s Wife!
Frequently Asked Questions About This Royal Icing Recipe
I always get so many questions once people start trying out this royal icing recipe, which is wonderful! It means you’re getting serious about decorating. Here are a few things I hear most often when readers dive into making their own cookie decorating icing.
How long does it take for this royal icing recipe to dry completely?
This is probably the number one question, and the answer is always, “It depends!” Humidity is your biggest enemy here. If it’s low, 2 to 4 hours might be enough for thin layers to dry firm for stacking. If it’s super muggy out, it might take overnight. The great thing about using meringue powder is that once it’s dry, it’s *dry*—leaving you with that fantastic firm finish that’s perfect for gifting.
Can I color this white royal icing recipe ahead of time?
You totally can! I often mix up a huge batch of this basic white royal icing recipe and then divide it up. The key is to use gel food colorings, not liquid ones. Liquid coloring adds too much water and can ruin your consistency! After you mix up your base batch, just separate what you need, add a tiny bit of gel dye to each little bowl, and mix it well. Remember to press the plastic wrap right down onto the surface of the colored icing too, or it’ll form a skin!
If you have more queries after trying this out, feel free to check our policy pages, but honestly, the best way to learn is just to start piping!
Estimated Nutritional Information for Royal Icing Recipe
I always feel a little silly listing nutrition facts for pure sugar icing, but I know some of you plan things out carefully! So, here’s the breakdown for this batch of glorious royal icing recipe, based on the standard yield. Remember, this is just an estimate, typically broken down into about 16 servings for coating consistency.
Per serving (about 1/4 cup): You’re looking at roughly 380 calories, and yep, 95 grams of sugar—we aren’t fooling anyone here! It is virtually fat-free, which is one reason it dries so beautifully hard. Use this as a guide, but honestly, you’re making these cookies for joy, not for a health kick, right?
Share Your Creations Using This Royal Icing Recipe
Now that you have officially mastered the best, most foolproof royal icing recipe out there, I absolutely need to see what you’ve been up to! This is the part where the real fun begins—the decorating!
Please, please leave a comment down below and tell me how it went. Did you outline perfect little gingerbread men? Did you flood fifty holiday cookies with zero craters? Let me know if you tried the almond extract trick or how quickly your icing set up! Rating the recipe helps others find this reliable guide, and honestly, seeing your photos brightens my whole week.
I love hearing about your decorating successes, big or small. If you’re brave enough to post a photo on social media, tag me so I can swoon over your beautiful, glossy results! Don’t forget, the more you practice making these essential consistencies, the easier everything gets. Happy decorating, and thank you so much for trying this recipe from my kitchen to yours. If you have any specific questions regarding the site or use of recipes, you can always check out the Terms of Use!
PrintThe Best Foolproof Royal Icing Recipe Using Meringue Powder

Make smooth, glossy royal icing perfect for decorating sugar cookies, gingerbread houses, and other baked goods using meringue powder for reliable results.
- Prep Time: 10 min
- Cook Time: 0 min
- Total Time: 10 min
- Yield: About 4 cups 1x
- Category: Baking
- Method: Mixing
- Cuisine: American
- Diet: Vegetarian
Ingredients
- 4 cups confectioners’ sugar, sifted
- 2 tablespoons meringue powder
- 1/4 cup warm water (approximately)
- 1/2 teaspoon vanilla extract or almond extract
- 1/4 teaspoon cream of tartar (optional, for stability)
Instructions
- In a large bowl, whisk together the sifted confectioners’ sugar, meringue powder, and cream of tartar (if using).
- Add the warm water and extract to the dry ingredients.
- Beat with an electric mixer on low speed until the ingredients are just combined.
- Increase the speed to medium-high and beat for 5 to 7 minutes until the icing is smooth, bright white, and holds stiff peaks.
- Check the consistency. If the icing is too thick for piping, add water, one teaspoon at a time, mixing well after each addition.
- If the icing is too thin for outlining, add more sifted confectioners’ sugar, one tablespoon at a time, mixing until the desired thickness is reached.
- Divide the icing into bowls for coloring or use white as is. Cover bowls tightly with plastic wrap, pressing the wrap directly onto the surface of the icing to prevent drying.
Notes
- For outlining consistency (stiff peaks), the icing should hold its shape when lifted.
- For flooding consistency (smooth flow), add water until the icing slowly settles back into itself in the bowl within 10 to 15 seconds.
- Store unused icing airtight at room temperature for up to two weeks; do not refrigerate.
- To make royal icing flowers, use a very stiff consistency and work quickly.
Nutrition
- Serving Size: 1/4 cup
- Calories: 380
- Sugar: 95
- Sodium: 5
- Fat: 0
- Saturated Fat: 0
- Unsaturated Fat: 0
- Trans Fat: 0
- Carbohydrates: 100
- Fiber: 0
- Protein: 1
- Cholesterol: 0